Scrabble Wall Art
For the past couple of months, my family and I have been renovating our basement. We want it to become an inviting space for our kids to lounge in and for them to invite their friends to hang out safely. The basement is a perfect hang out spot for our children to separate us from the noise and it’s also great because we know where they are at all times. It’s a win win for all of us.
I’ll share the basement project as a whole in a separate post, but for now let’s talk about this super fun Scrabble wall art project. You can also watch HERE as I assemble it.
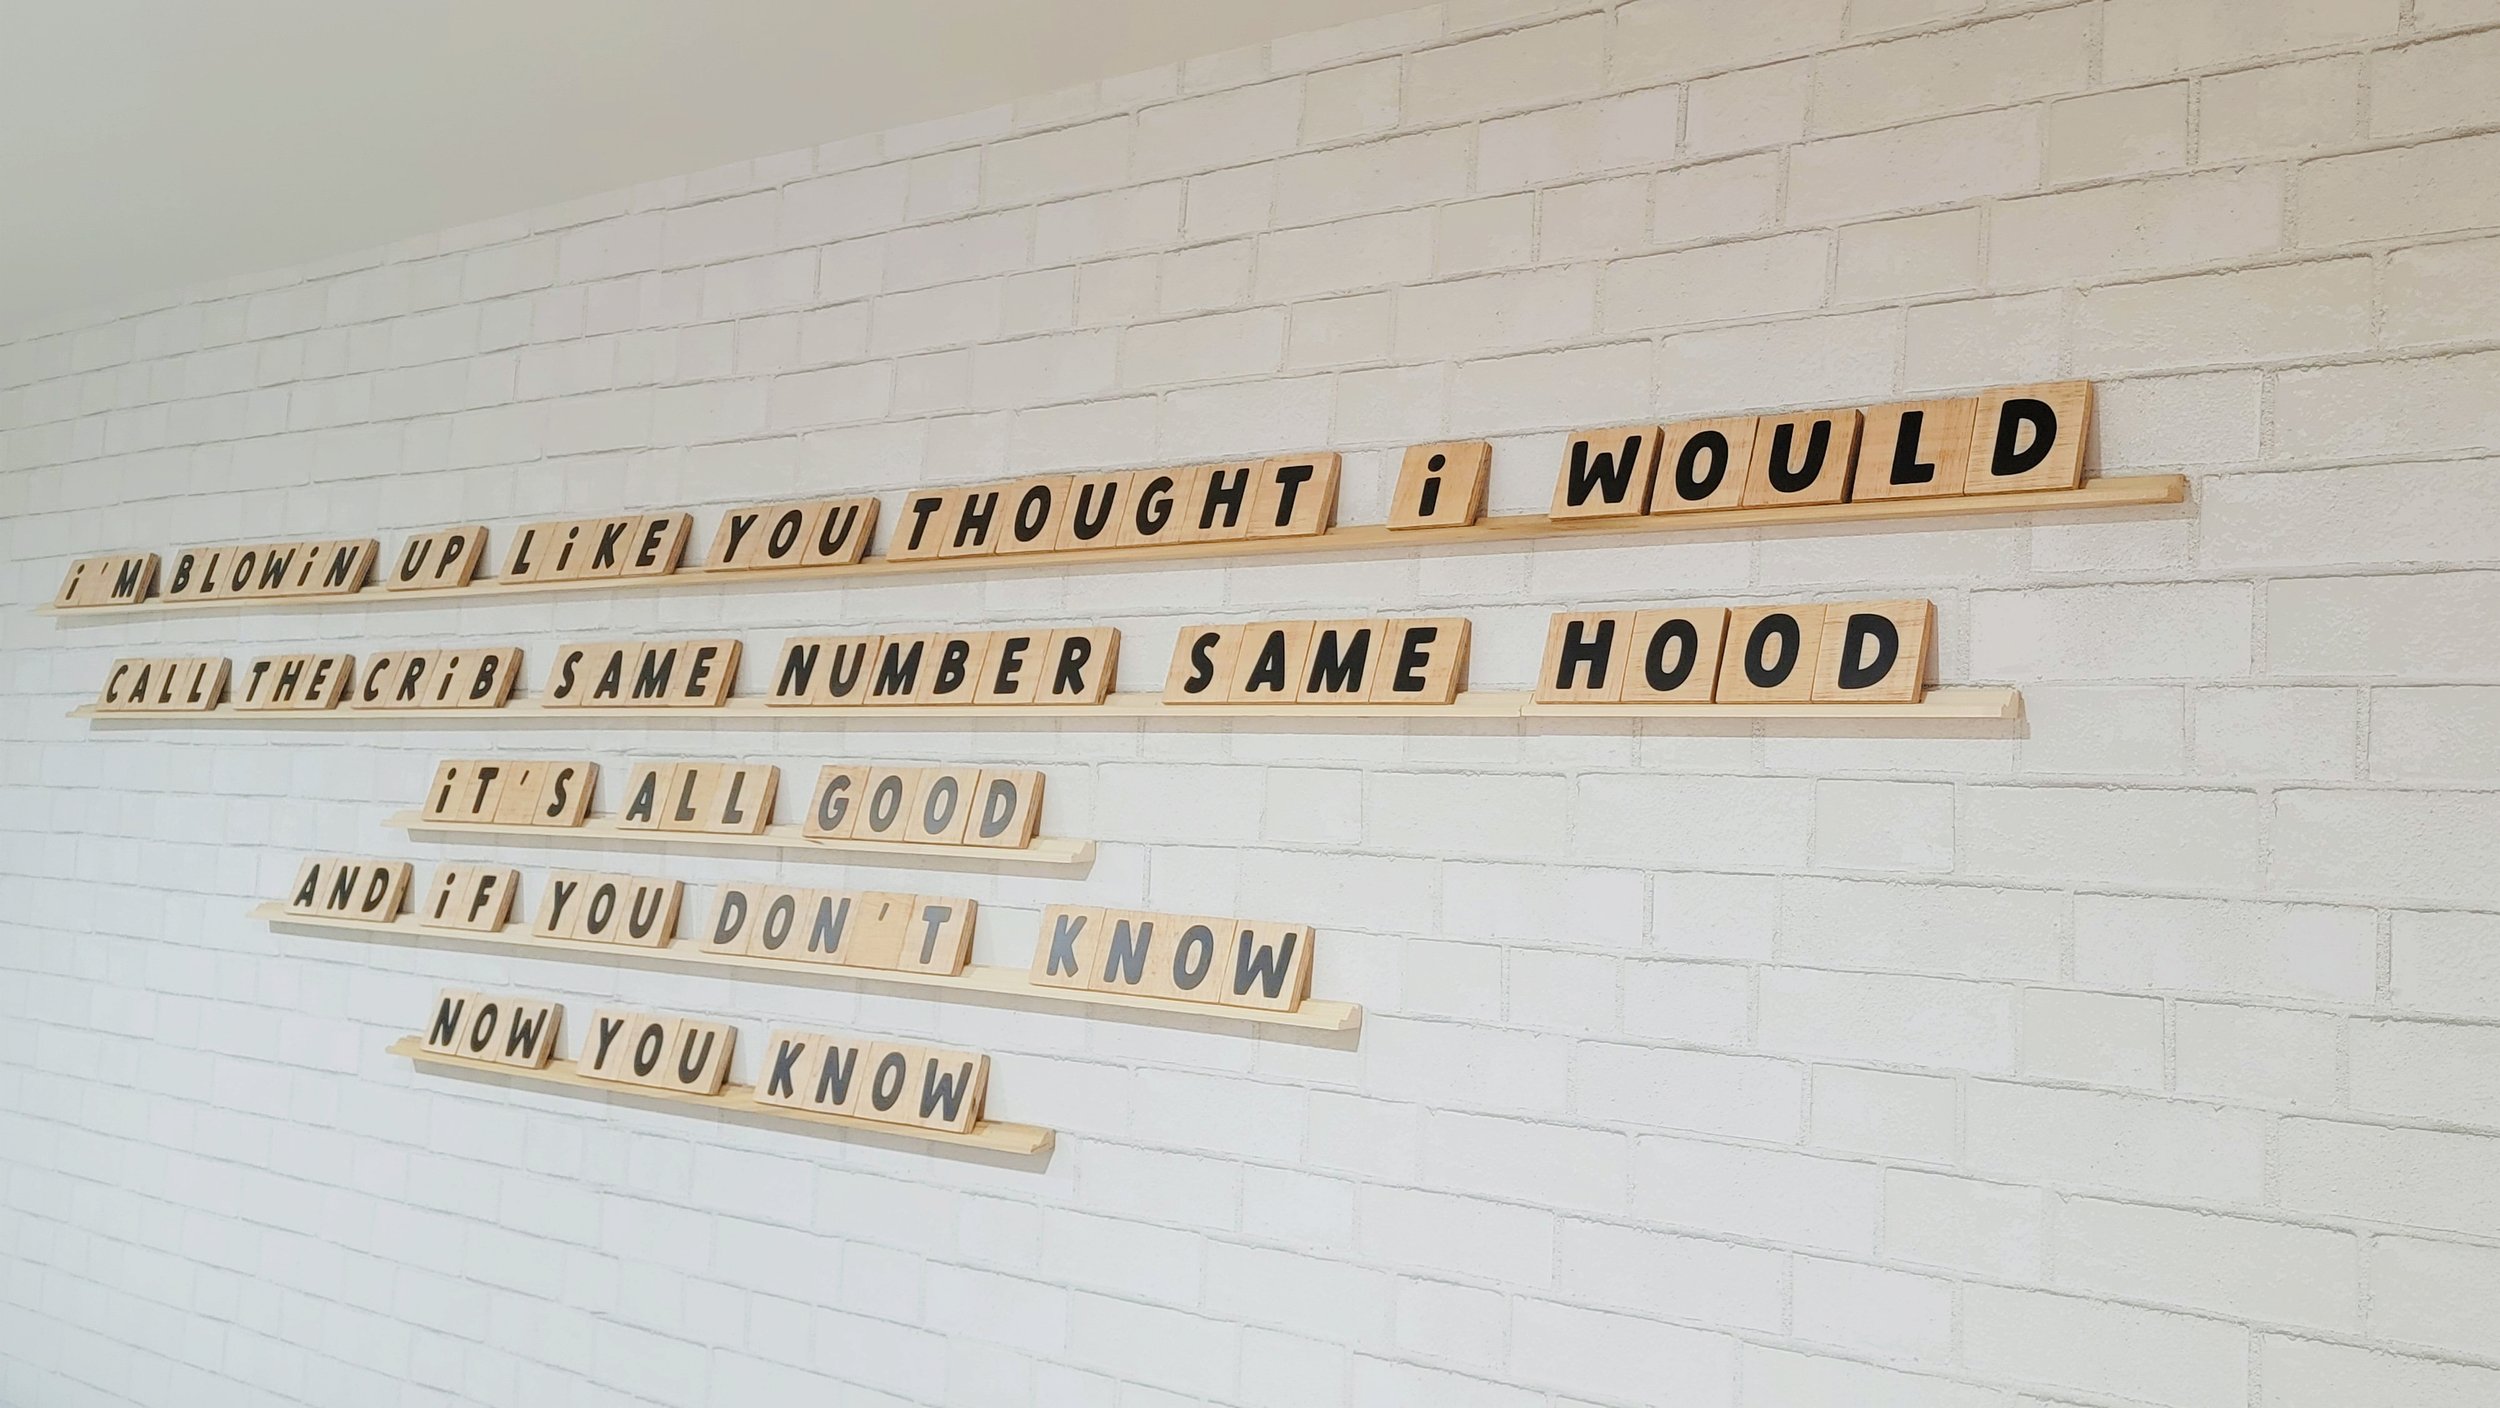
I’m sure you’ve played this game at some point in your life. It’s most definitely a fun one! I thought it’d be one to recreate as wall art. I’ve seen this wall art created with just the letter tiles attached to the wall, but I thought it’d be so much better to create the tile shelves along with the tile letters. For us, this is the better option because it allows us to change out the words at any time with ease.
Our family loves music, so a music lyric from one of mine and my husband’s favorite songs was the perfect choice. There are so many other options that you could go with such as: quote from your favorite book or speaker, name of family or children.

SUPPLIES:
Ornamental Wall Moulding
½” thick Plywood
Craft Vinyl or letter stickers
INSTRUCTIONS:
Choose the wording you would like for your wall art. Keep in mind that if your wording is lengthy, you’ll have to separate it into multiple lines on your wall.
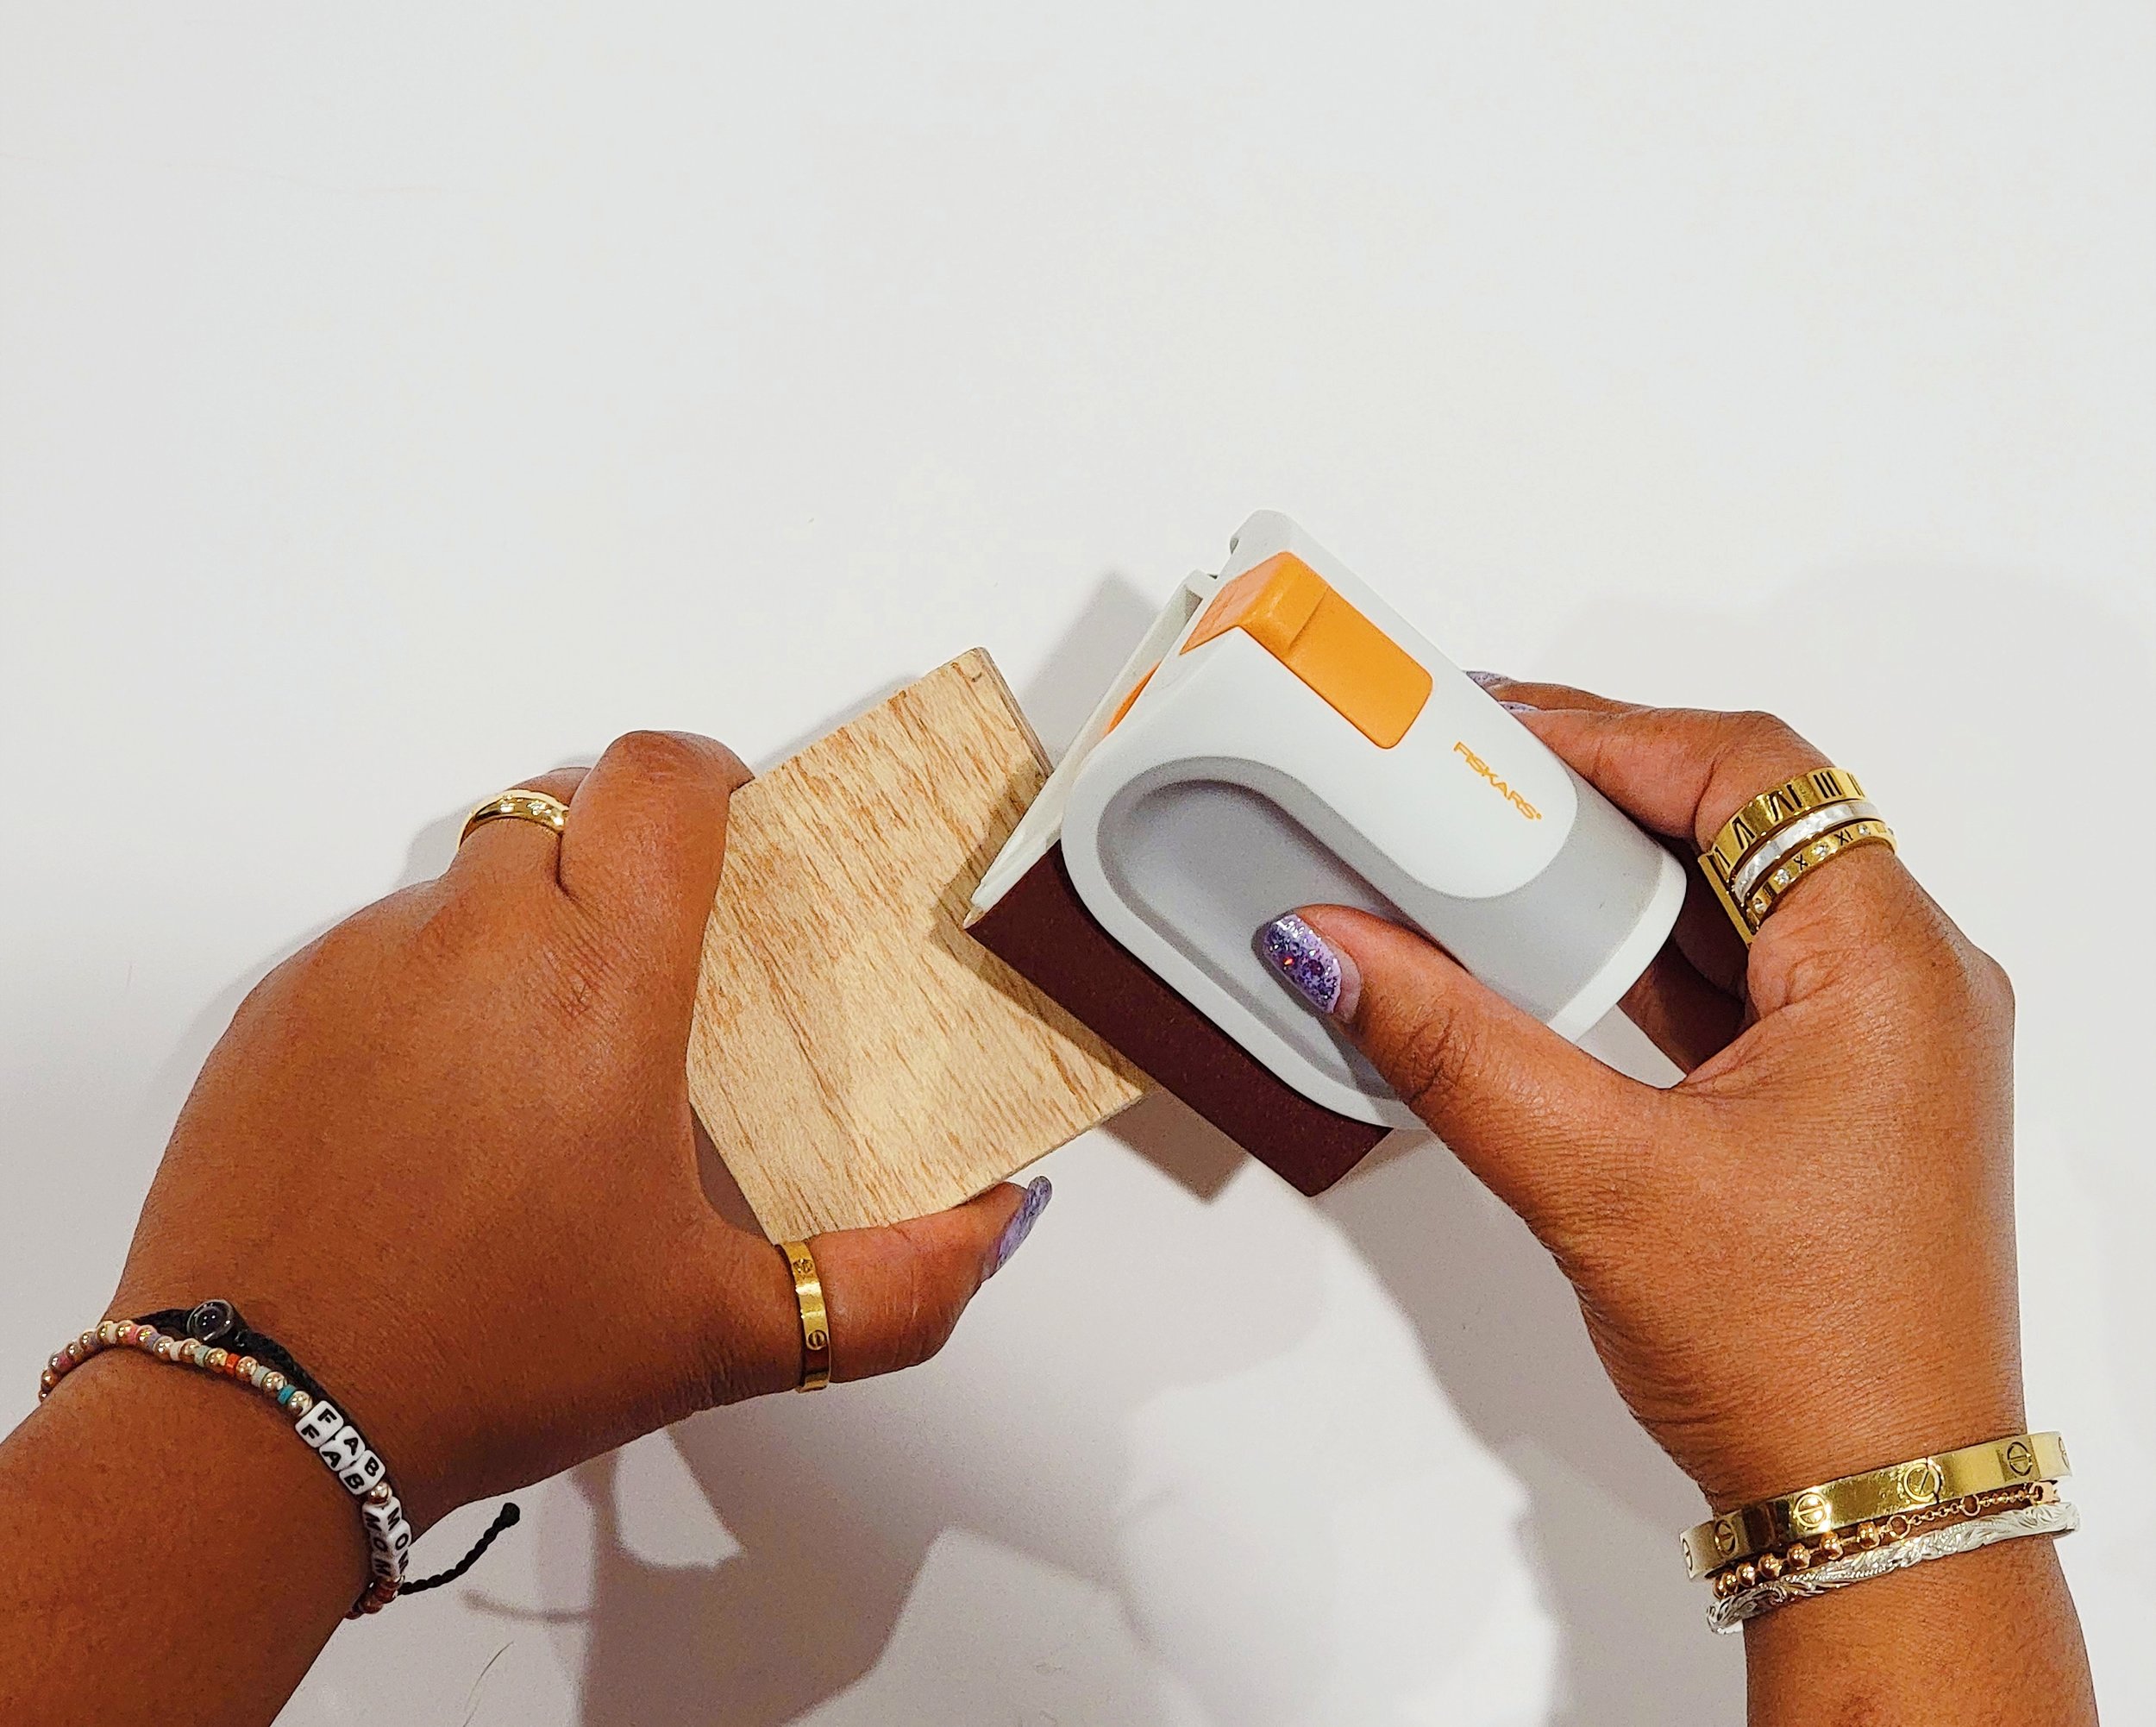
With the plywood, cut out each letter tile at 3” x 3”. Sand the edges of each tile with a Fiskars Sanding Block to remove any loose pieces of wood that could cause splinters. If the sandpaper is worn out, you can adjust the paper within the sanding block since it is 3-sided.
Using the Tabitha Sewer Scissors cut out each letter that you’ll need for the wording you chose. Stick each letter onto each tile.
Arrange each word on the floor in the way that it would look on your way. Be mindful of the amount of space you have on your wall.
Using the Fiskars Measuring Tape, measure the appropriate length for each line you’ll need.
Cut the Ornamental Wall Moulding, using the measurements you previously measured.
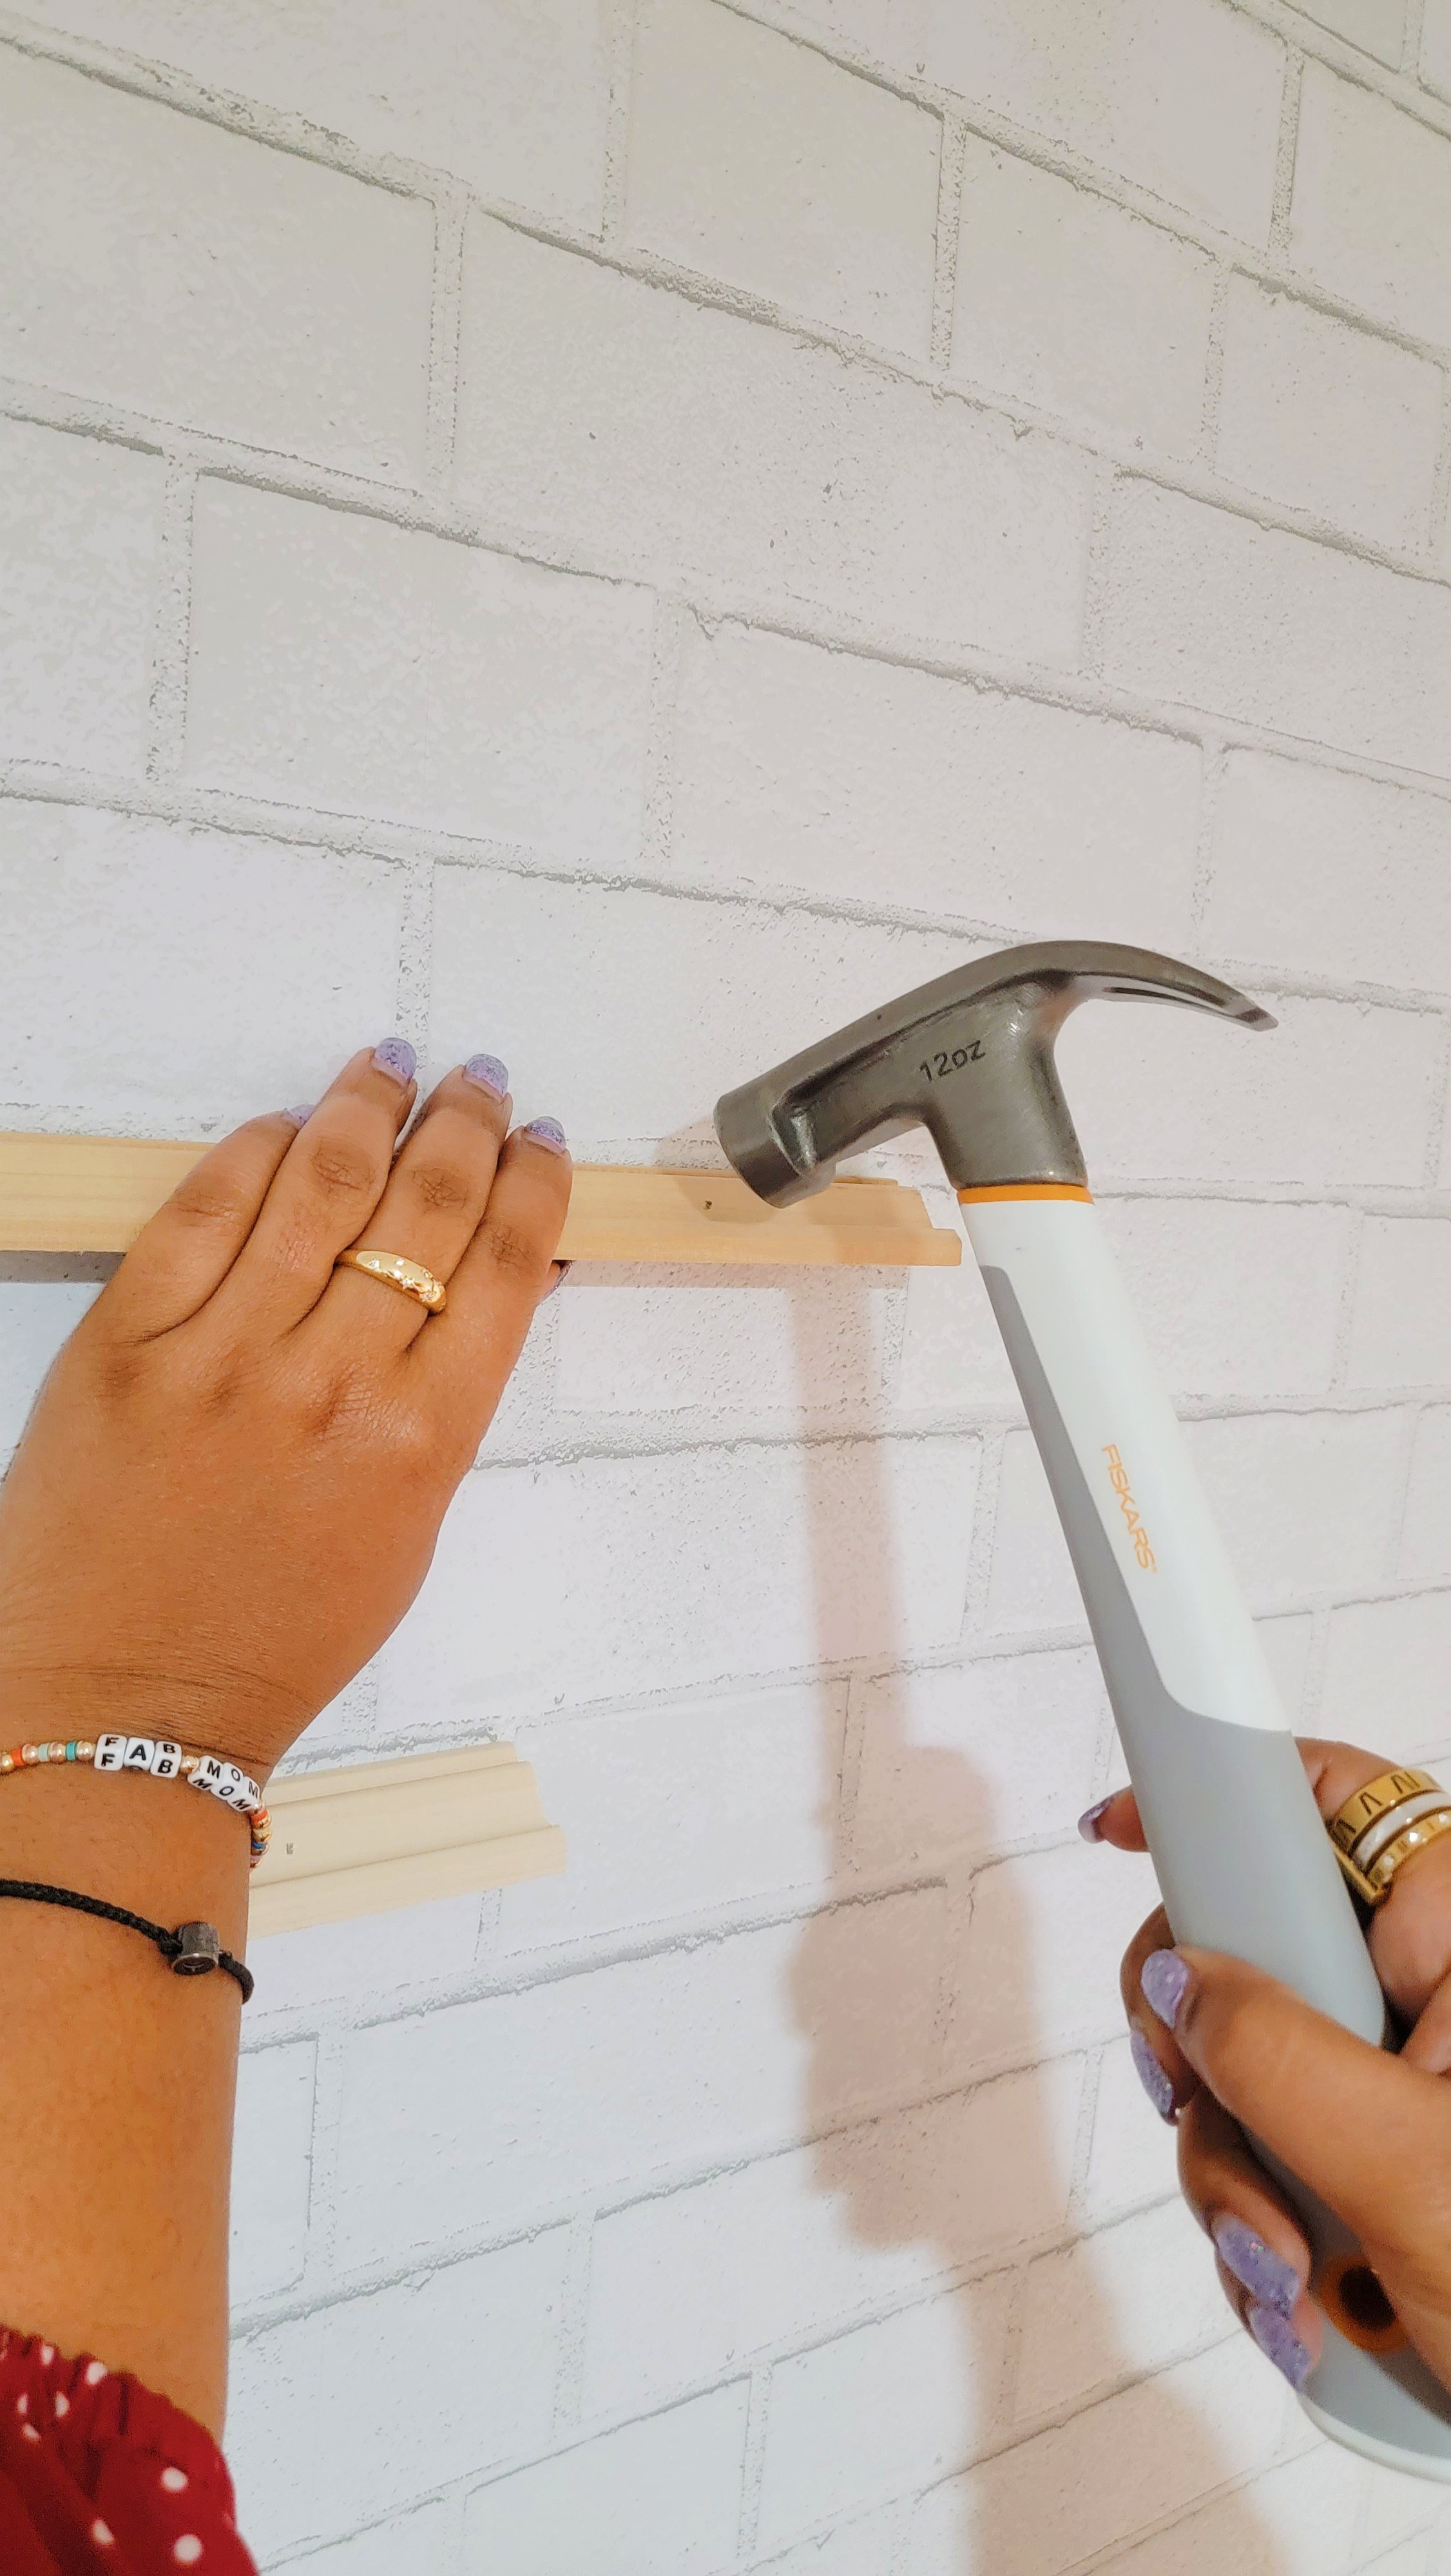
Hammer the Ornamental Wall Moulding using the Fiskars Hammer and nails onto your wall. Be sure that’s level as well. I enjoyed using the Fiskars Level for this.
Arrange your tiles onto the moulding (aka scrabble shelf), and that’s it!