TS Studios: The Lounge/Closet

Welcome to The Lounge! I knew when I moved in I needed to reserve a space where my guests and I could just hang out. We all need a break sometimes! My goal for this space was to keep things light and fun so that we could relax and unwind when the workday got to be too much. I like to sum up the space in 3 phrases: Eclectic; Feminine with a Dash of Hood; and Old-School Swag. I also wanted to make sure that it was the perfect area to host guests and brand representatives if and when they came by to make sure everyone felt comfortable! There were 3 major DIYs that went into this space:


1. The Wall - I found the paper form of this fabric and fell in love with it. What I didn’t love was the price ($632!). This was a great, inexpensive DIY. I used the fabric that I found on sale at Joann for $8/yd and I used under 8 yards to cover the whole wall! $64? I could do that! The process was pretty simple: We measured the wall and cut the fabric into panels to fit. Then we soaked each panel in liquid starch and water and placed them on the wall (the fabric will stick thanks to the liquid starch!). If you’re worried about the pieces peeling or sliding off, use push pins to help hold the panels up! Also, make sure you have towels on hand because it’ll drip onto the floor. Save yourself the clean-up! Finally, we used a sponge used to smooth out bubbles/wrinkles.
2. The Credenza - We took 2 kitchen cabinets that we had purchased “unfinished” and glued and screwed them together to save a little! After it was dry and set, we painted it pink, purchased the legs that we spray painted gold and attached along with other hardware purchased on Amazon. For the top, we took a piece of wood we had laying around and cut, glued, and nailed it to the top for a flat surface. This was such a money-saver since credenzas can normally cost a lot more than around $150! It’s the perfect space to store my fabric so I can keep everything nice and neat!

3. Clothing Rack - When you make your own clothes, you need a closet or clothing rack! I wanted to keep my favorite handmade garments front and center. The colors really bring that fun and vibrant pop that I love while giving me the ability to play dress-up all day long if I wanted to! For this DIY clothing rack, we purchased pipes in different lengths, fixtures, and angle brackets. We screwed everything together, spray painted them gold, and attached them to the wall and floor so they became a more permanent fixture!
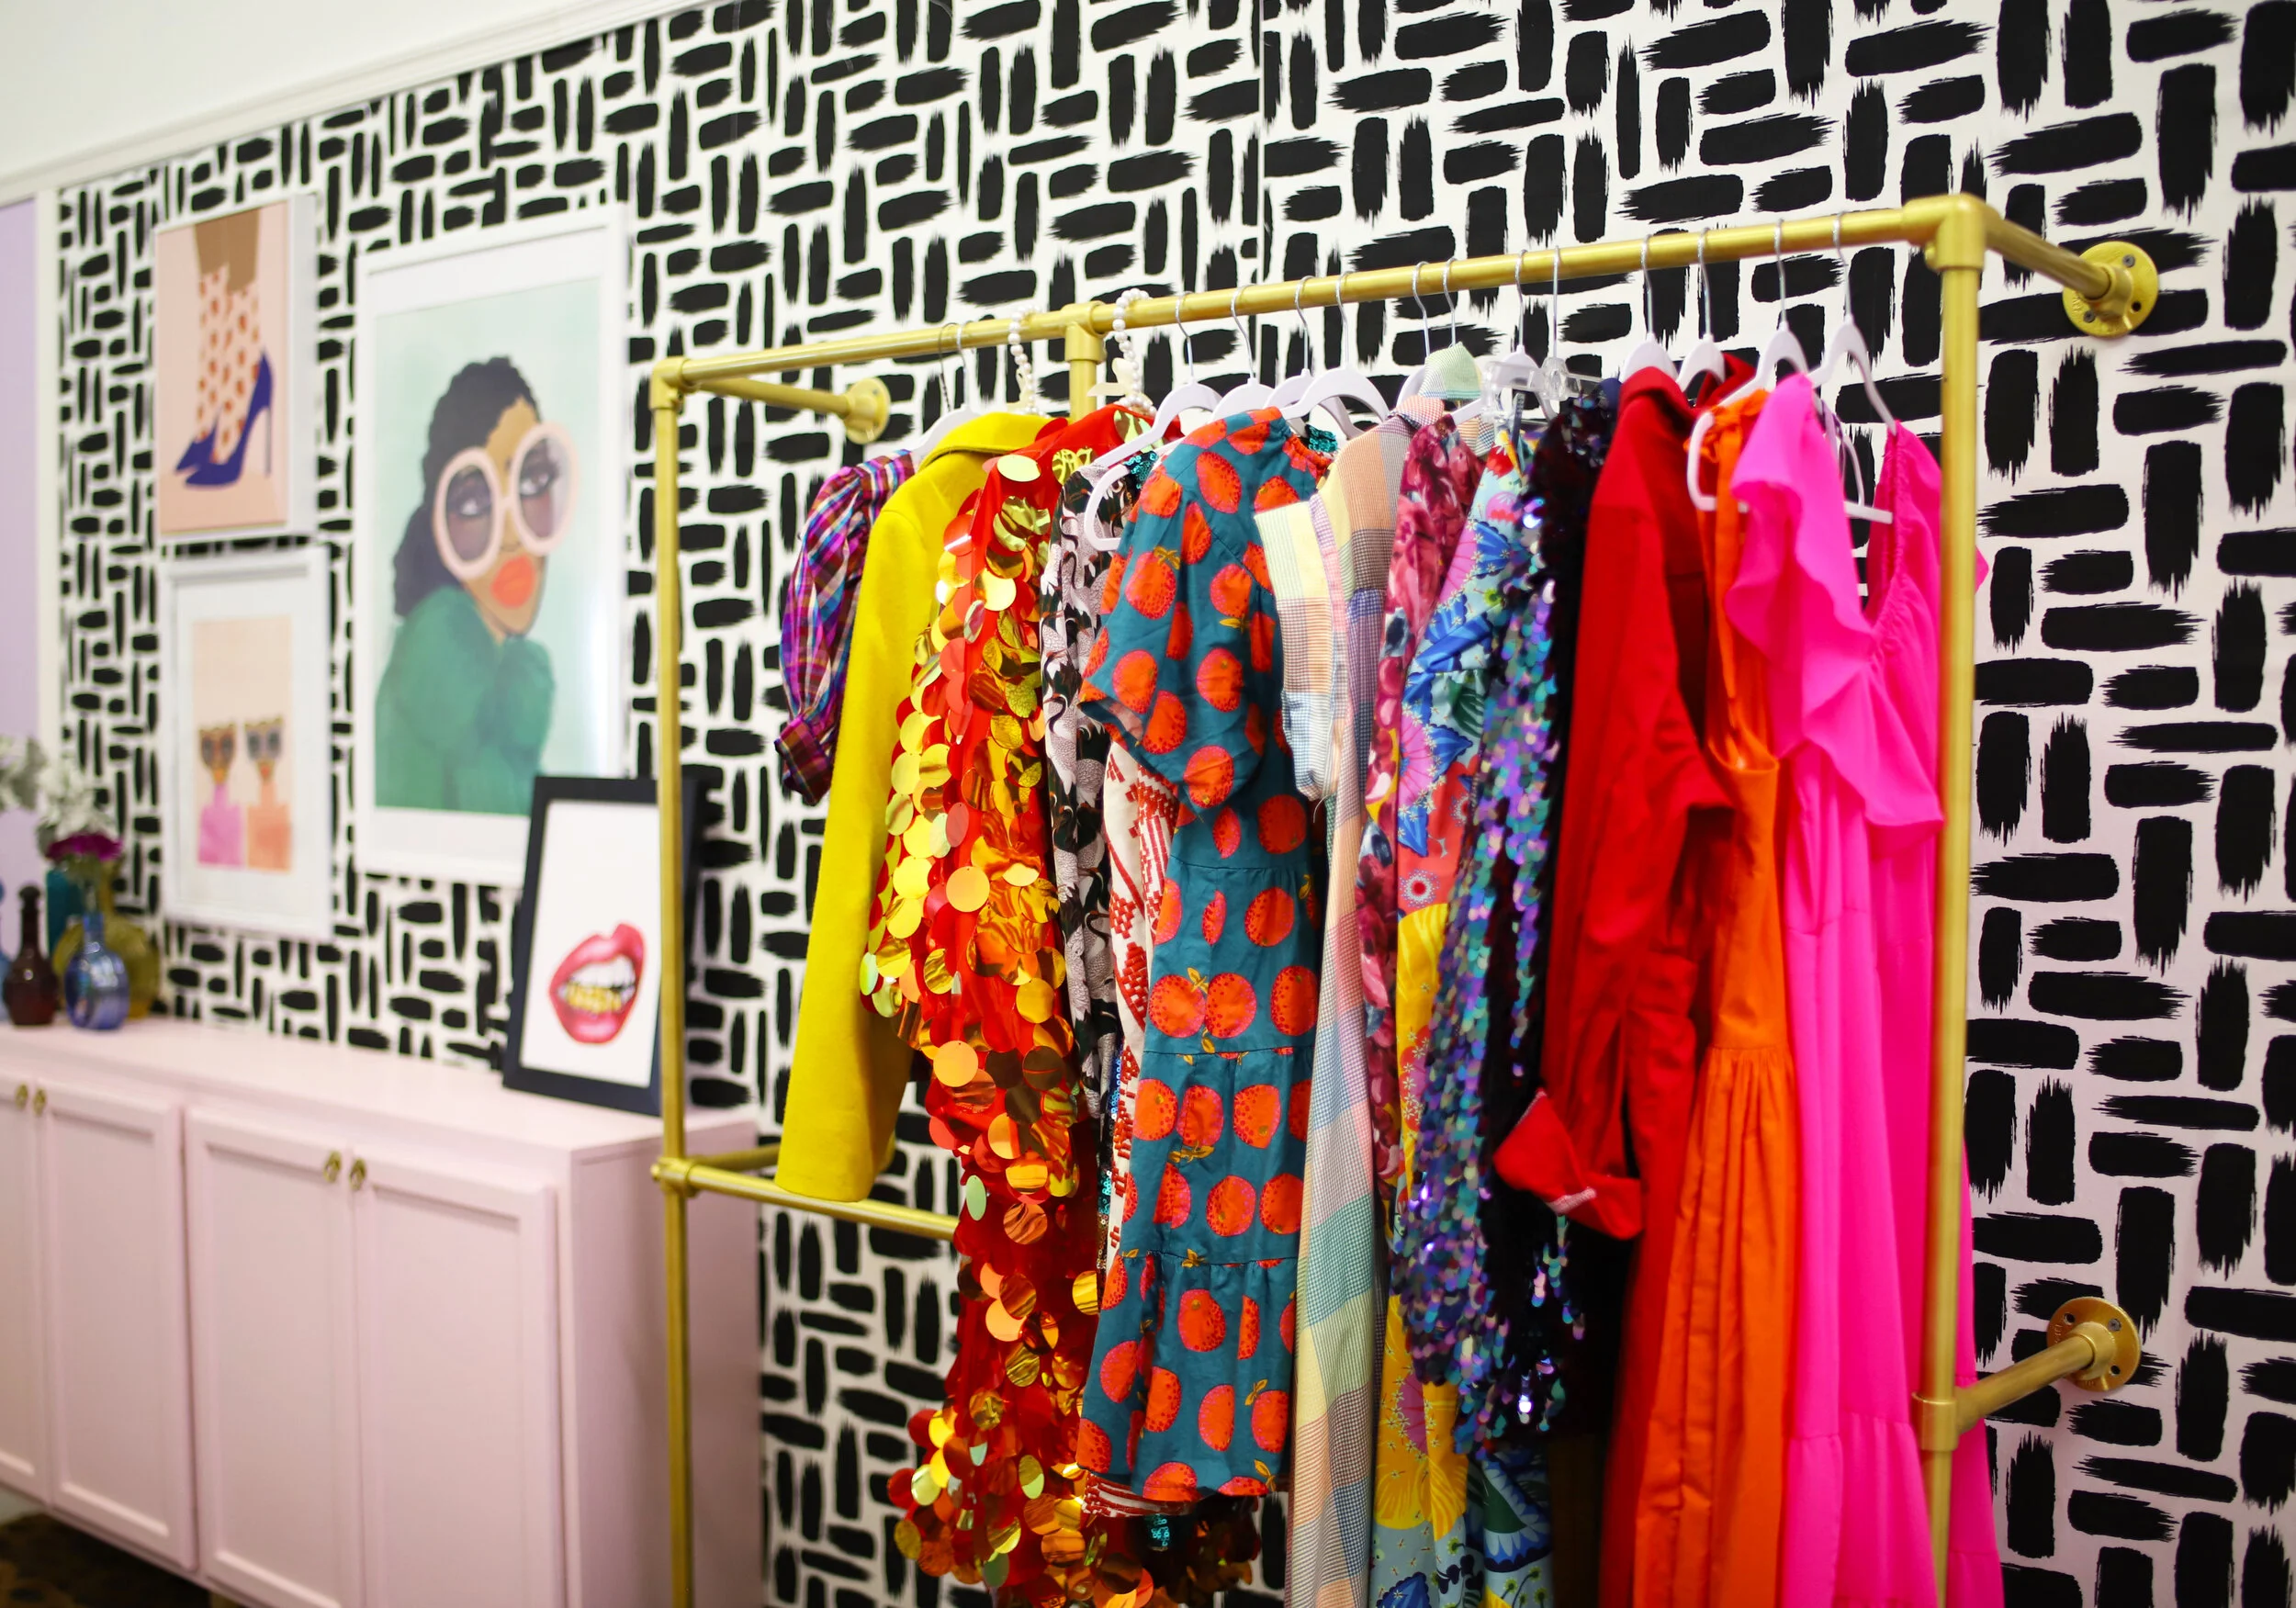

While I was looking online for art prints to decorate my walls with, I saw some stunning prints from Society 6 and knew that I just had to have it! After spending a little time browsing the site, I found so many incredible and inspiring prints from various artists so, obviously, I grabbed my favorites! I’ll be putting together a blog post linking to the prints I found at Society 6 in the next couple of weeks since I found plenty to decorate a few different areas of the studio!

Finally, I found these decanters from thrift store just to add a little more color and texture to the space.
