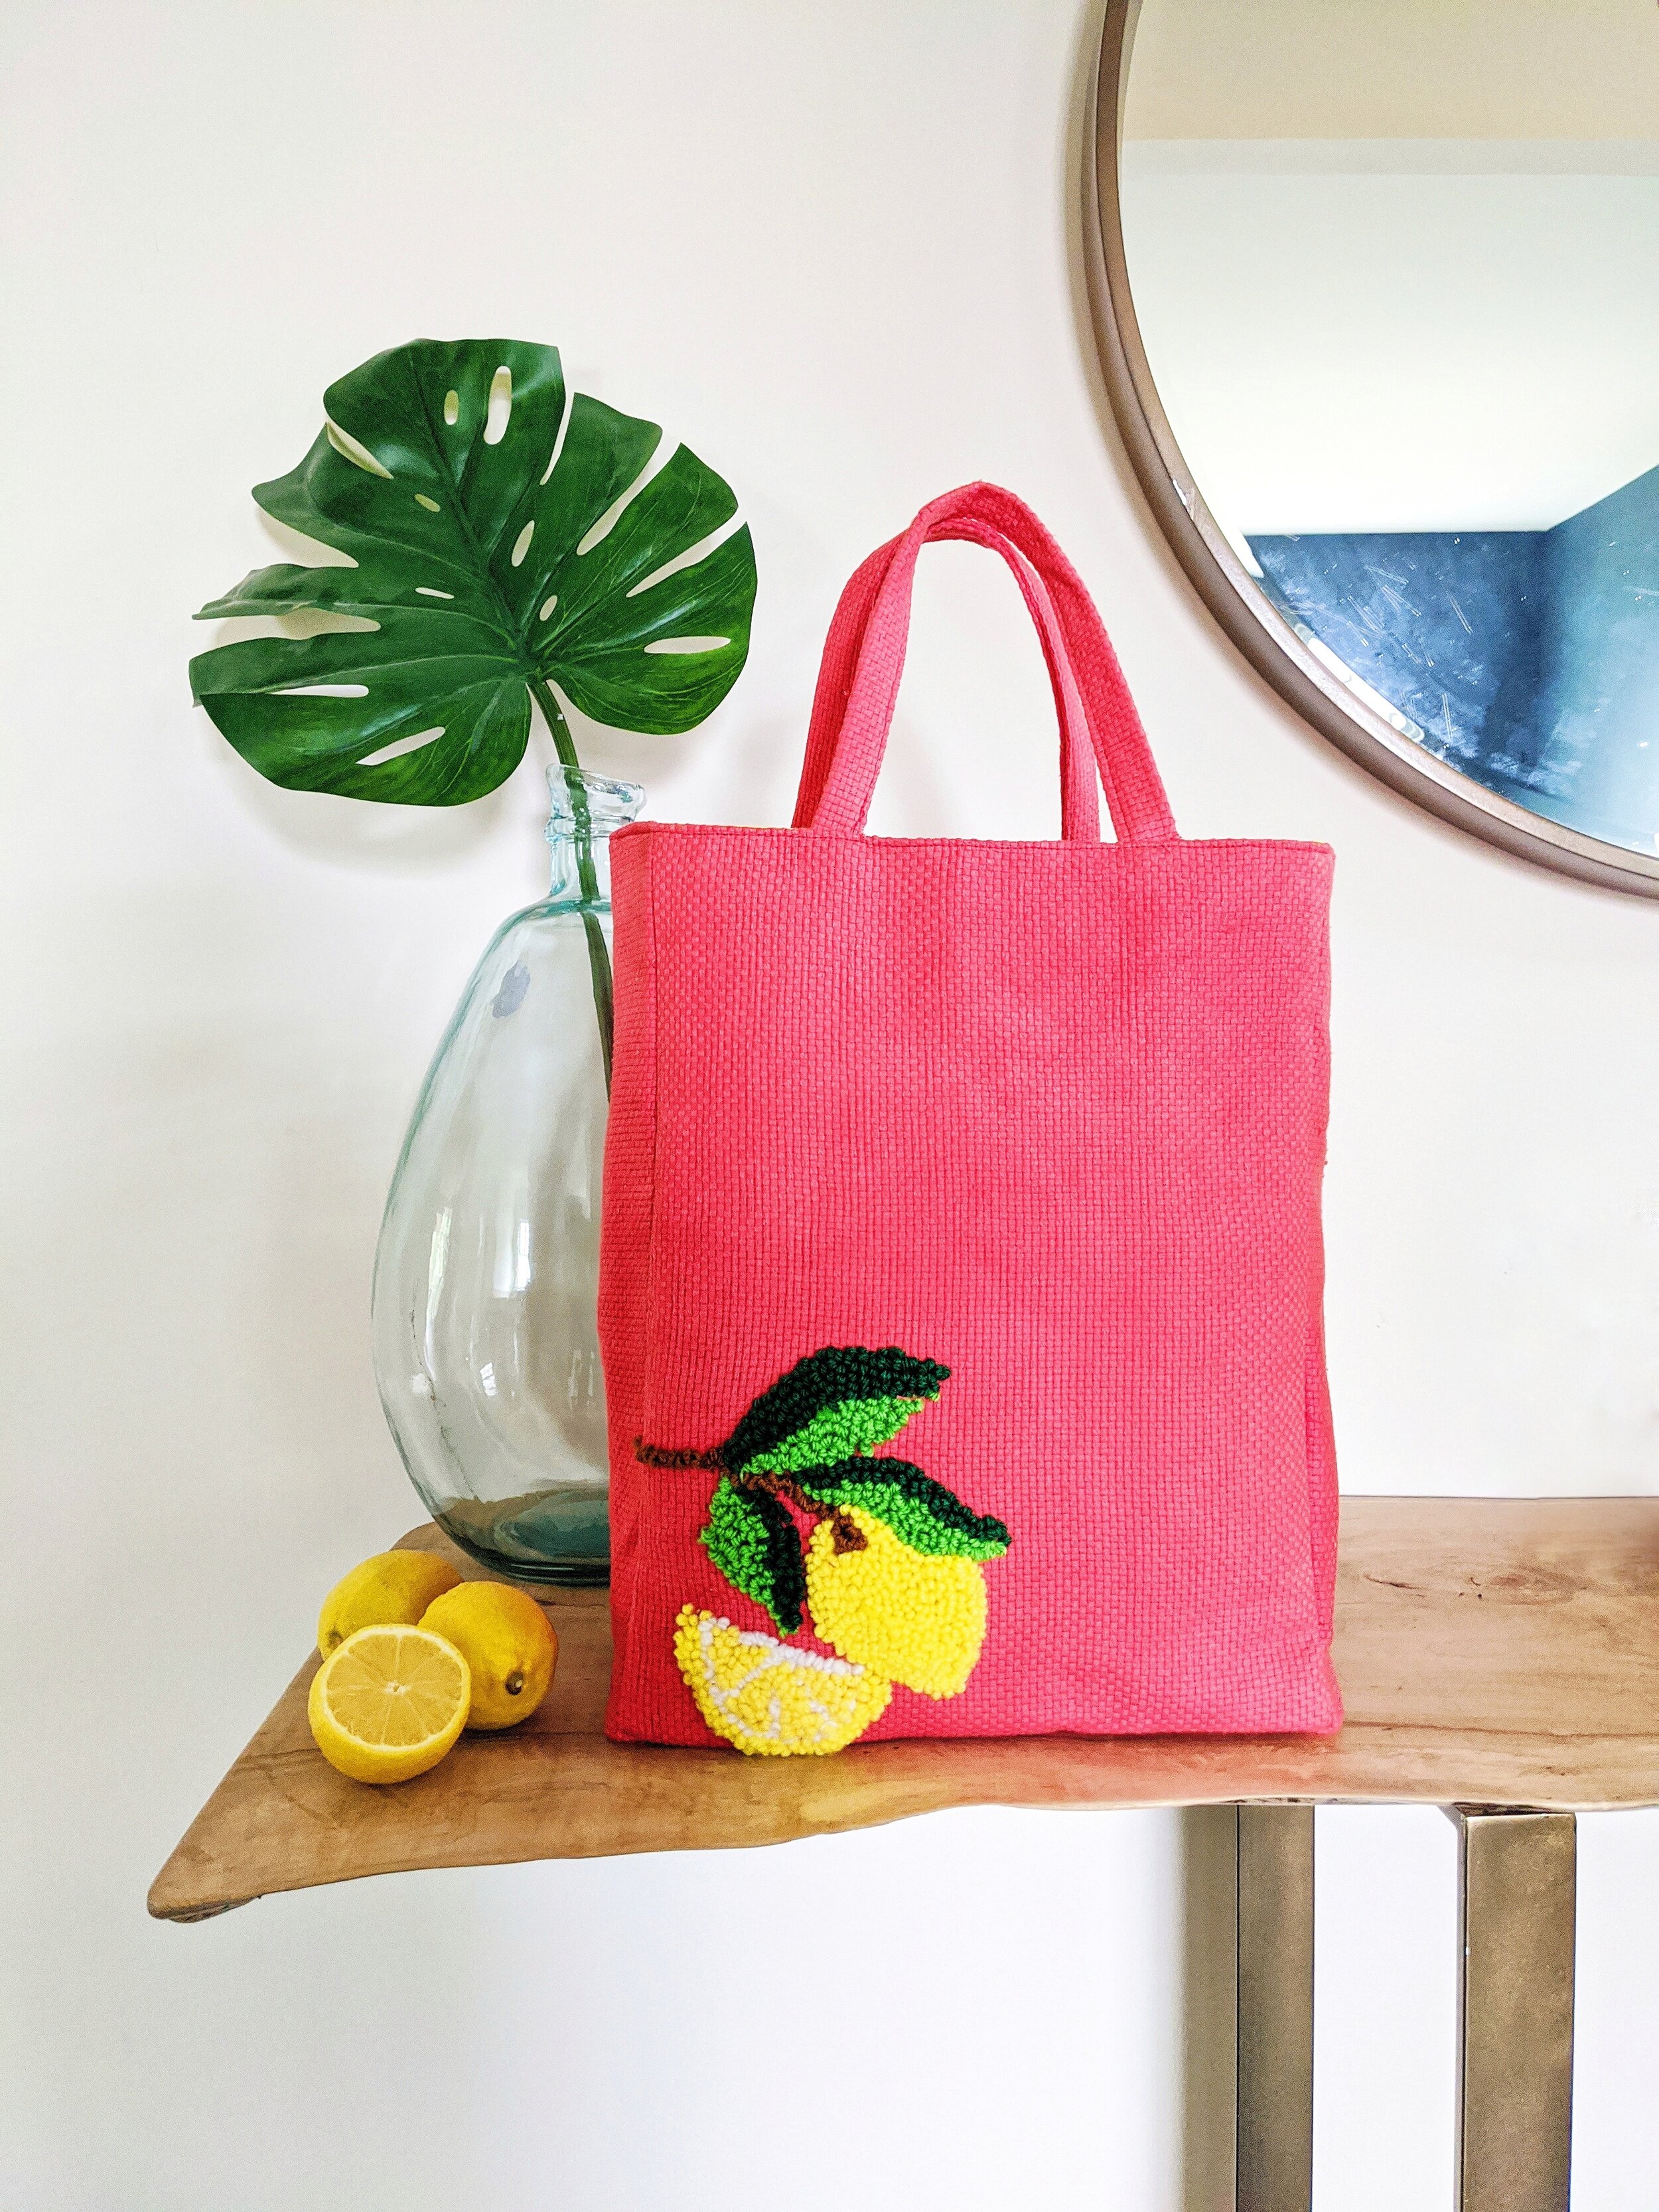
Punch Needle Shopping Bag
How fun do these look?! Am I right?
I’ve started punch needling at the beginning of this year. I’m always trying new crafts and trying to incorporate them into my love for fashion. Now…this blog post is specifically demonstrating how you too can learn how to punch needle. I’m not necessarily showing you how to make a bag. You can actually add this technique to so many of your projects.
CLICK HERE for a tutorial found on my Instagram.
Punch needling is extremely easy and very forgiving when you make any mistakes. I love that it’s a craft that you can take with you on road trips, to the beach, or anywhere when you are away from home. With punch needling, there are a few tips that I wanted to share that will make things so much easier for you when you start. After I share my tips, I’ll get into the DIY.
TIPS FOR PUNCH NEEDLING
This craft is quite inexpensive. You only need three things: Monk Cloth, a Punch Needle, Embroidery hoop and some yarn.
When it comes to monk cloth, there are different types of weave. There are large weaves or small. Joann stores, sells the larger weave and it is very inexpensive. The weave of your monk cloth is important because depending on the the yarn and punch needle you use, you have to use the appropriate weave. Let me break it down for you.:
For large weave, use a large (wide) punch needle. The large punch needle will fit nicely into the weave and you’ll never worry about stretching out the weave of the fabric. Also with larger weave, use regular or thick yarn for the similar reasons. You will not have to worry about the yarn slipping out of the large weave.
For a small weave, use a smaller punch needle. The smaller punch needle will fit nicely into the weave and you’ll never worry about stretching out the weave of the fabric. Also with larger weave, use embroidery floss or a fine yarn that will fit according the diameter of the hole in you punch needle.
I mentioned monk cloth above. That’s what I use in this tutorial and what I learned with when I started, but surprisingly enough, you can also use canvas fabric. You’ll see more projects from me using canvas fabric but right now, we’ll use monk cloth.
The smaller punch needle will take a lot longer to complete your project if that you are solely using it for the entire project. However, you can switch out punch needle for different textures and finishes. With the larger punch, you’ll complete your project much quicker. I usually for for the larger punch needle.
The frame that you use for punch needling is extremely important because when you are applying pressure to your monk cloth, you need the tightest tension possible. If the tension of your monk cloth isn’t tight, the whole thing can be quite frustrating. I’ve tried a few different ones.
Stapling your monk cloth to a wooden frame way too tedious. I hated it. The fabric continuously frayed on the edges as I made progress on my project.
Using an embroidery is my favorite way. However, you must prep it. Here are some tips:
Use a no-slip hoop tape along with a no-slip hoop. (note: I couldn’t find it online, however, I did purchase mine in store at Joanns.)
MATERIALS
1 yard Monk Cloth
Embroidery Hoop (This is an example of an embroidery hoop, but go to the store and grab the no-slip hoop. see below for image of materials)
Iron
INSTRUCTIONS
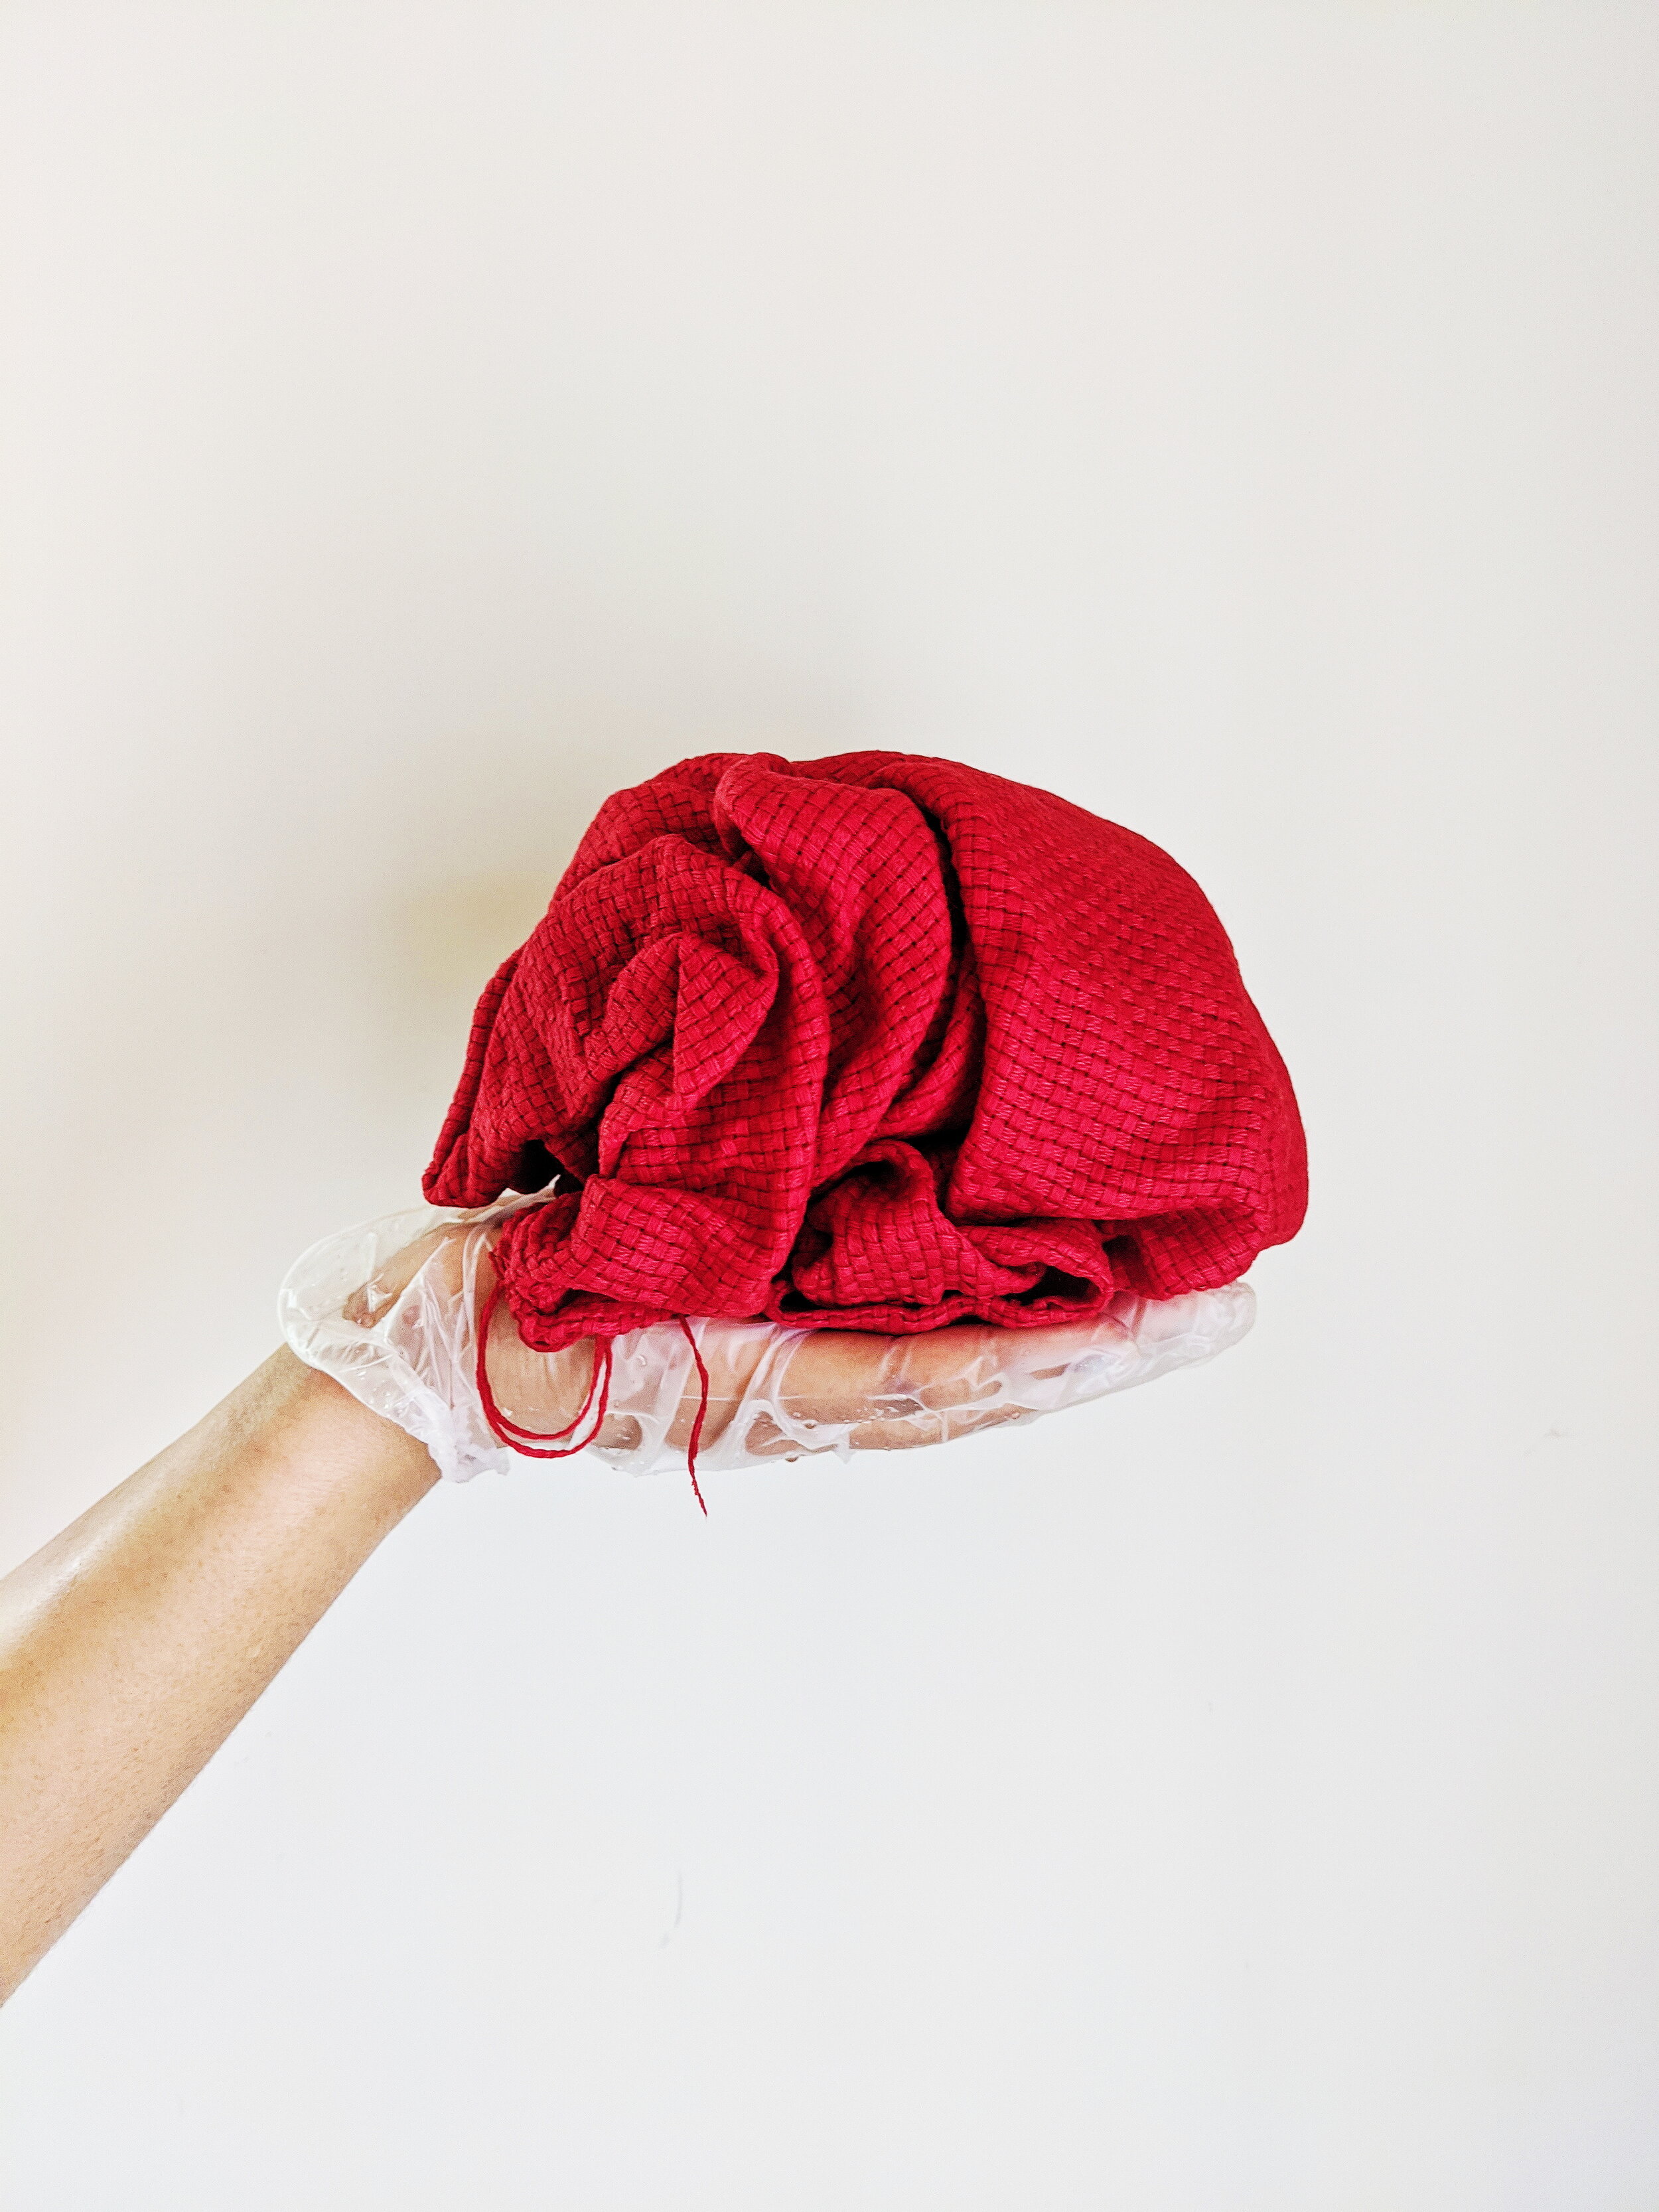
Dye your fabric according to the instructions on the box. Prior to washing your fabric, I would highly recommend that you serge the edges of your fabric to prevent your fabric from fraying.
2. Draw out the shape of whatever bag you want to make. This way, you know the placement of your embroidery.

3. Frame your fabric onto your embroidery hoop. Make sure that it’s at tight as possible. The fabric MUST be taut.

4. Print any image your prefer, but make sure it has a black outline that you’ll be able to see through the fabric. Pin it to the back of your fabric.


5. Transfer your image onto your fabric by holding the hoop and fabric up to a window and track with a fabric marker.

6. Thread your punch needle using the long threader that comes with your punch needle. The key thing to remember is to allow about 1.5-2 inches of yarn hang out of the eye of the punch needle. Also, the MOST IMPORTANT thing to remember is ALWAYS have slack in your yarn. If anything goes wrong while you are punch needling, more than likely, it’ll be because your yarn doesn’t have enough slack in it. Make sure it’s as loose as possible. As you punch needle, you’ll continue to loosen the yarn from the roll of yarn.

7. Punch the needle through the fabric with the eye of the needle ALWAYS facing the back. The eye of the needle should be trailing in the back as you move forward in your design. Pay close attention to the image below. The eye of my punch needle faces towards the back aka the opposite direction in which I’m stitching.

8. Also, when you stitch the next stitch always keep the needle close to the fabric and make sure that each punch is very close to one another. If you move to the next stitch and your needle isn’t as close to the fabric as possible, you’ll pull the stitch out of the fabric. Remember keep the needle as close to the fabric as possible as you are stitching. You will practically be grazing the fabric as you move forward with each stitch.
Once each area is complete, pull the yarn from the bottom of your punch needle. Be careful not to pull it from your fabric. Cut the yarn and any extra long pieces of yarn. I cut mine close to the fabric.

9. Flip to the opposite side to see how your design is looking. It’s looking pretty great, right?! Have fun!! Tag me on INSTAGRAM if you try your hand at punch needling.