designer look for less: Dolce & Gabbana
*sponsored
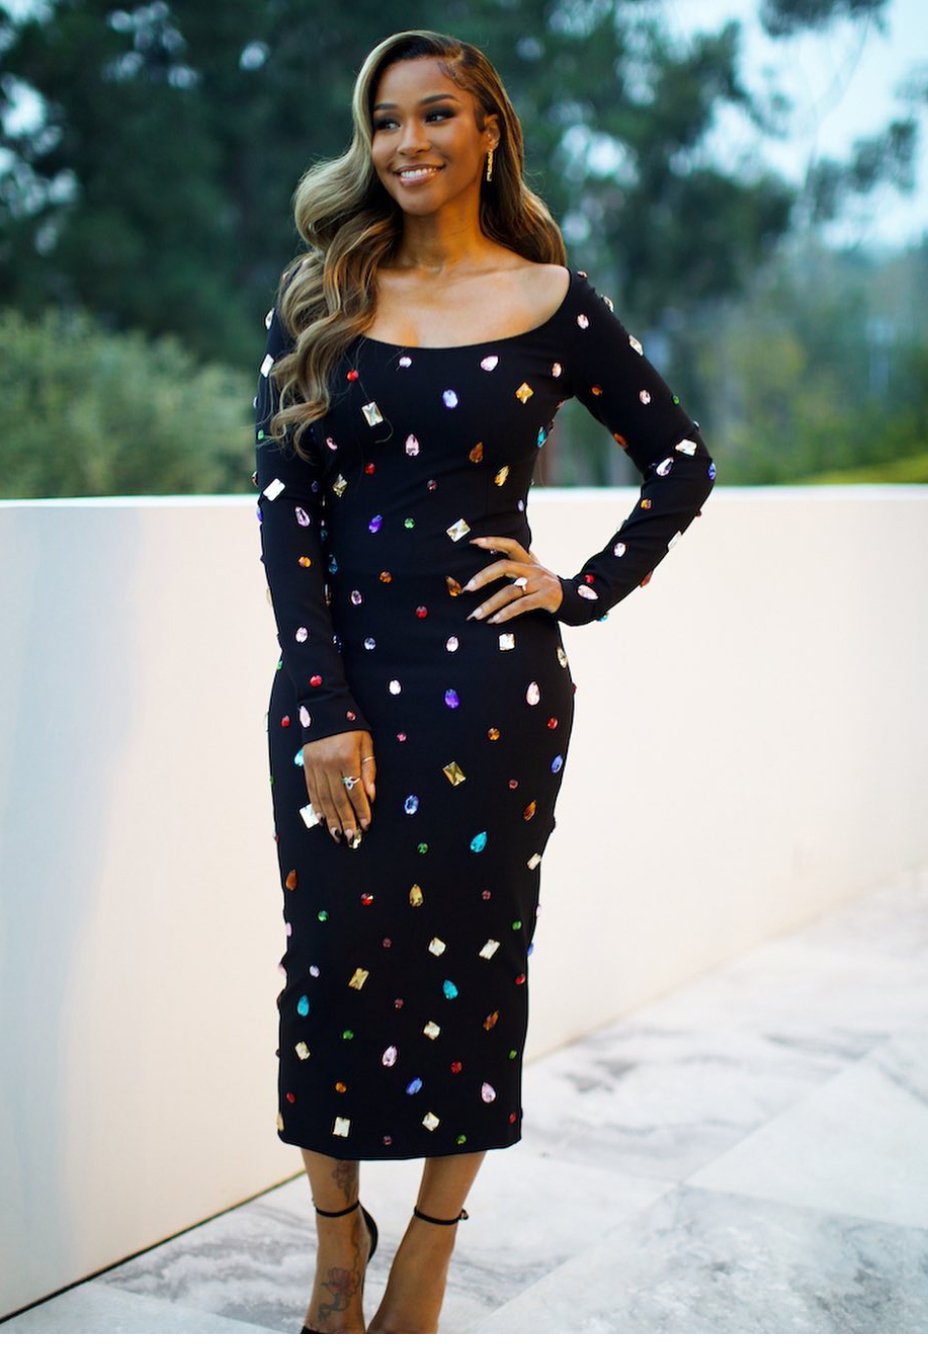
I came across this dress on social media worn by the gorgeous Savannah James, wife of Lebron James. The dress included three of my favorite things; the color black, rainbow colors, shiny things. Sounds like a lot, but it’s just perfect! The dress is absolutely stunning and so perfect for the holidays! The dress is from Dolce & Gabbana and retails for over $2000. It’s look 20 from the 2021 Fall/ Winter Collection. The cost is quite high and totally out of my price range, but you know me. It won’t stop me from getting my hands on something very similar.
Check out the full tutorial HERE or if you want to see the dress in movement, check HERE.

When recreating designer looks, you want to make sure you have the right products on hand. This is important in order to achieve a more polished, quality look. Because we are recreating the dress, we don’t want it to look homemade. We want it to look boutique worthy. Here are a few things to note when creating designer looks for less.
The first item that is important is the actual dress. The quality of the fabric on the dress that I chose is thick and forms to my body, It’s perfect. When choosing a dress, you want to make sure it doesn’t feel cheap and thin. Quality is key.
The Jewels. Some of the jewels that I came across looked cloudy and dull. Make sure that the jewels have a good transparency to them. You should be able to clear see through the jewel without any distortions.
The cutting tool. This is where a lot of people go wrong when it comes to executing a designer piece. When making length adjustments you want to make sure that the line is straight. Scissors will not give you the perfect cut. I highly recommend that you invest in a good rotary cutter. The Fiskars Rotary Cutter that I’m using in this tutorial is very affordable. You can find it at your local JOANN STORES. Fiskars recently came out with new and improved Fiskars rotary cutters. They took the old design and changed into something more elevated. They changed the handles to make it more ergonomic, so now it feels like a glove in your hand. It’s every comfortable to use and works so smoothly. The other change I love about the new rotary cutters is the blade change. The new cutters have a touch free, magnetic blade change which makes changing out the blade so much easier.
Remember, the execution step of creating a designer look for less pieces is important. Have the right tools in place and you’ll have a successful outcome.


SUPPLIES & TOOLS
Small Jewels (Optional in addition to the large jewels)
So let me start off by saying, you DON’t have to neccesarily sew this dress because as you can see from the supplies above, it already made for you. The quality of the fabric is like a dream. It literally hugs your curves and sucks you in. It’s an incredible dress.
The first couple of steps (Steps 1-7) that I share below is to alter the length of dress. If you want a midi length dress like the designer option, you’ll most likely have to bring up the hem. To do this, you don’t want any jagged or uneven hems which will take away from the quality of the dress so I highly recommend that you use a rotary cutter for a straight and even hem line. In this and every tutorial, my go to is the Fiskars rotary cutter.
If you like the length the dress already comes in, skip to steps 8-10.
INSTRUCTIONS
Put your dress on and create a mark at the center of your shins using your marking tool. This will mark the midi length of your dress.
Lay your dress on your workspace, right side up. Fold in half making sure that you are able to see the mark you created.

3. With your marking tool and ruler, draw a straight line across the marking you created.
4. Then, with your marking tool and ruler, draw another line ½” below that. This will be your seam allowance.

5. Take your Fiskars Rotary Cutter and ruler, cut a straight line across the seam allowance line.


6. Take your dress to your machine and re-sew your hem using a zig zag stitch.
7. Try the dress on again just make sure it’s at your desired length.

8. Place your dress onto your workspace, right side up. Place jewels all over the front dress making sure they are approximately 4 inches apart. Note: I did not use the heart shaped jewels that came in the package because I wanted the design to be as close to the designer’s as possible.
9. Once your placement is just like you want it, glue jewels in place using fabric glue.

10. Allow to dry for a couple of hours. If you want to do the back side, wait until the front is completely dry first. (Note: I only did the front, although I may go back and do the back side)
CARE INSTRUCTIONS
I wouldn’t recommend putting put this dress into the washing machine. But if you must, turn it inside-out and wash on gentle cycle. If the dry cleaners is an option for you, I would highly recommend that you bring it there to ensure that your jewels do not fall off.

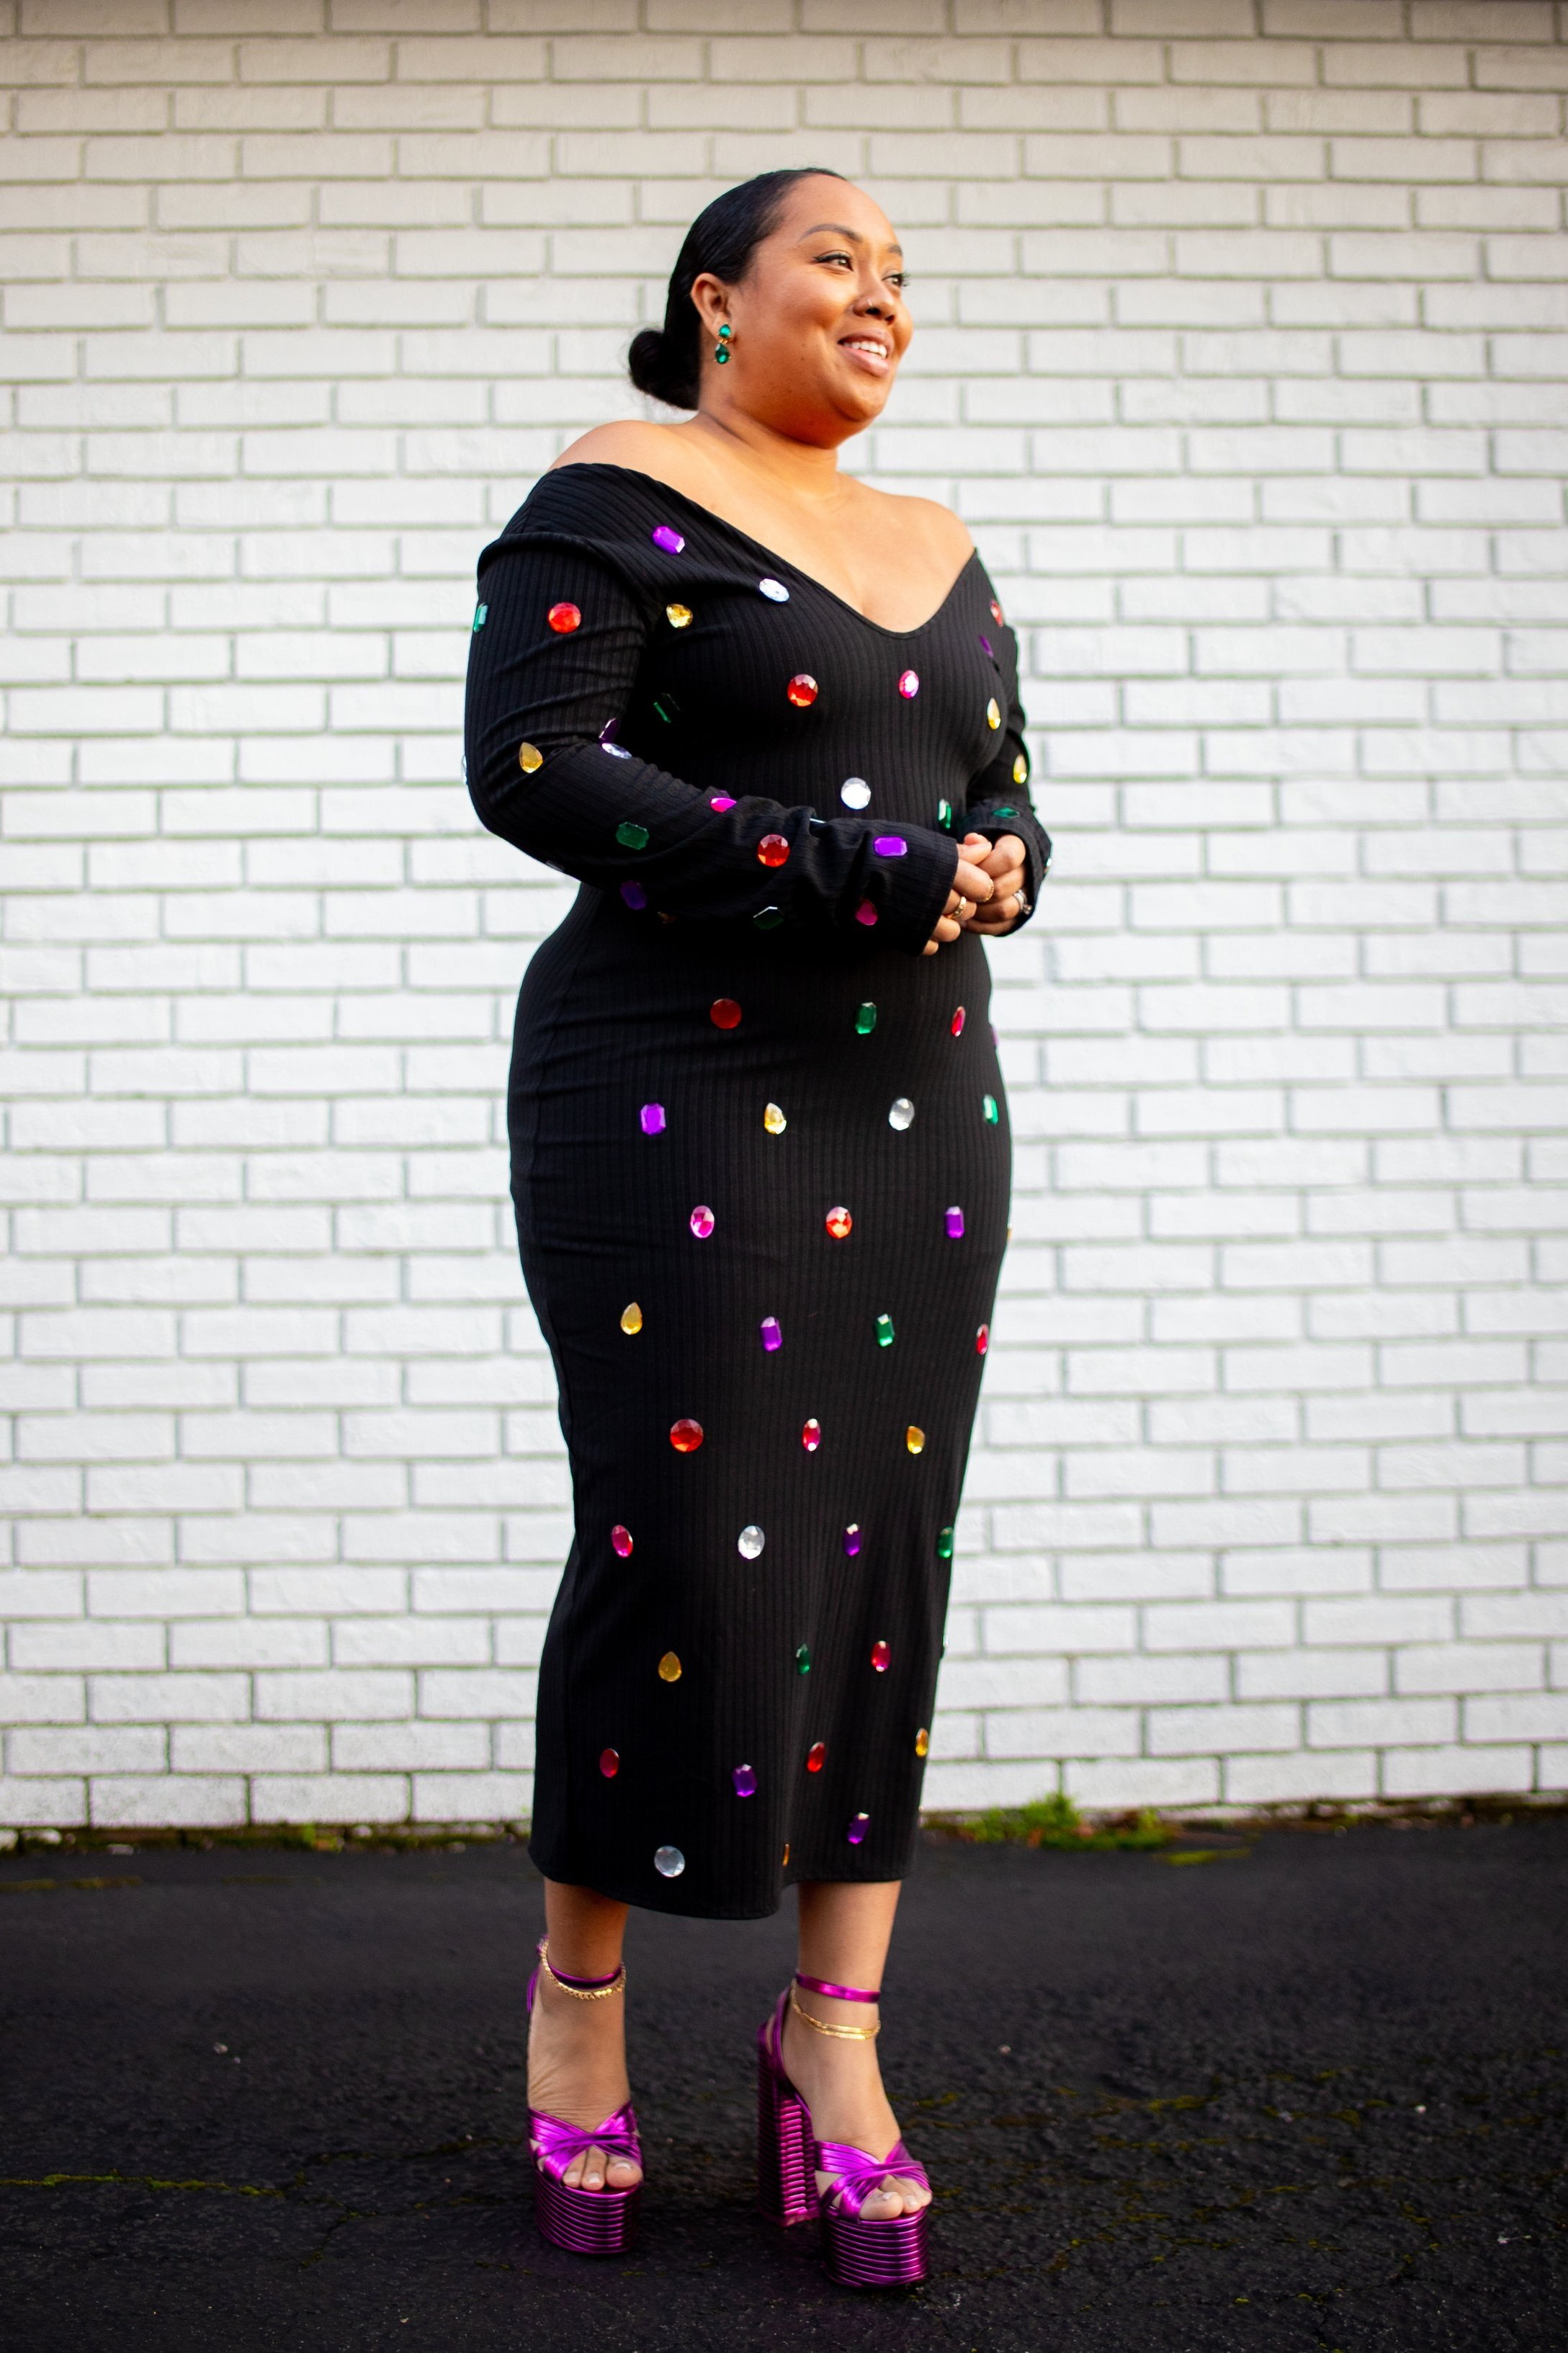


And because EVERYONE was asking about the super fun platforms, I bought them on ASOS. They are called Zurra platform metallic heels in purple.