Girl Power
I’m so proud of how far we as women have come, especially more recently, when we as a country elected our first Woman Vice President, Kamala Harris. History has previously shown women that we should stand in the background (and in other countries that’s still true). However, we’ve shown that we’re much more than subservient people there to support our male counterparts. We’ve proven that we’re more than capable of being successful in STEM and other male-dominated fields as well as running businesses and countries.
While we still have a long way to go to actually receive the same edge and treatment men have, we’ve already come such a long way in a relatively short timeframe. We’ve started voting, entering and dominating those male-dominated fields, and have repeatedly proven that when united, nothing can stop us. We are strong and smart and powerful (even moreso than men let’s be honest).

How about this fabric?! How fun is this?! I love love love so many different things about it but first, I do want to say that I love how trendy Joanns Stores has become. Its a craft store that I grew up shopping in with my mom and it’s pretty cool to see how they have changed over the years. They are are really in-tune with how the world is changing and picking up on modern trends. Im here for it!
Speaking of Joanns….Yep! This is where I picked up the fabric. I couldn’t seem to find it only, but I’m pretty sure they may have it on your store. Below I’ve listed all the materials you’ll need to create this project and I’ve included other fun fabric options that I love and that I think you might like as well.
MATERIALS:
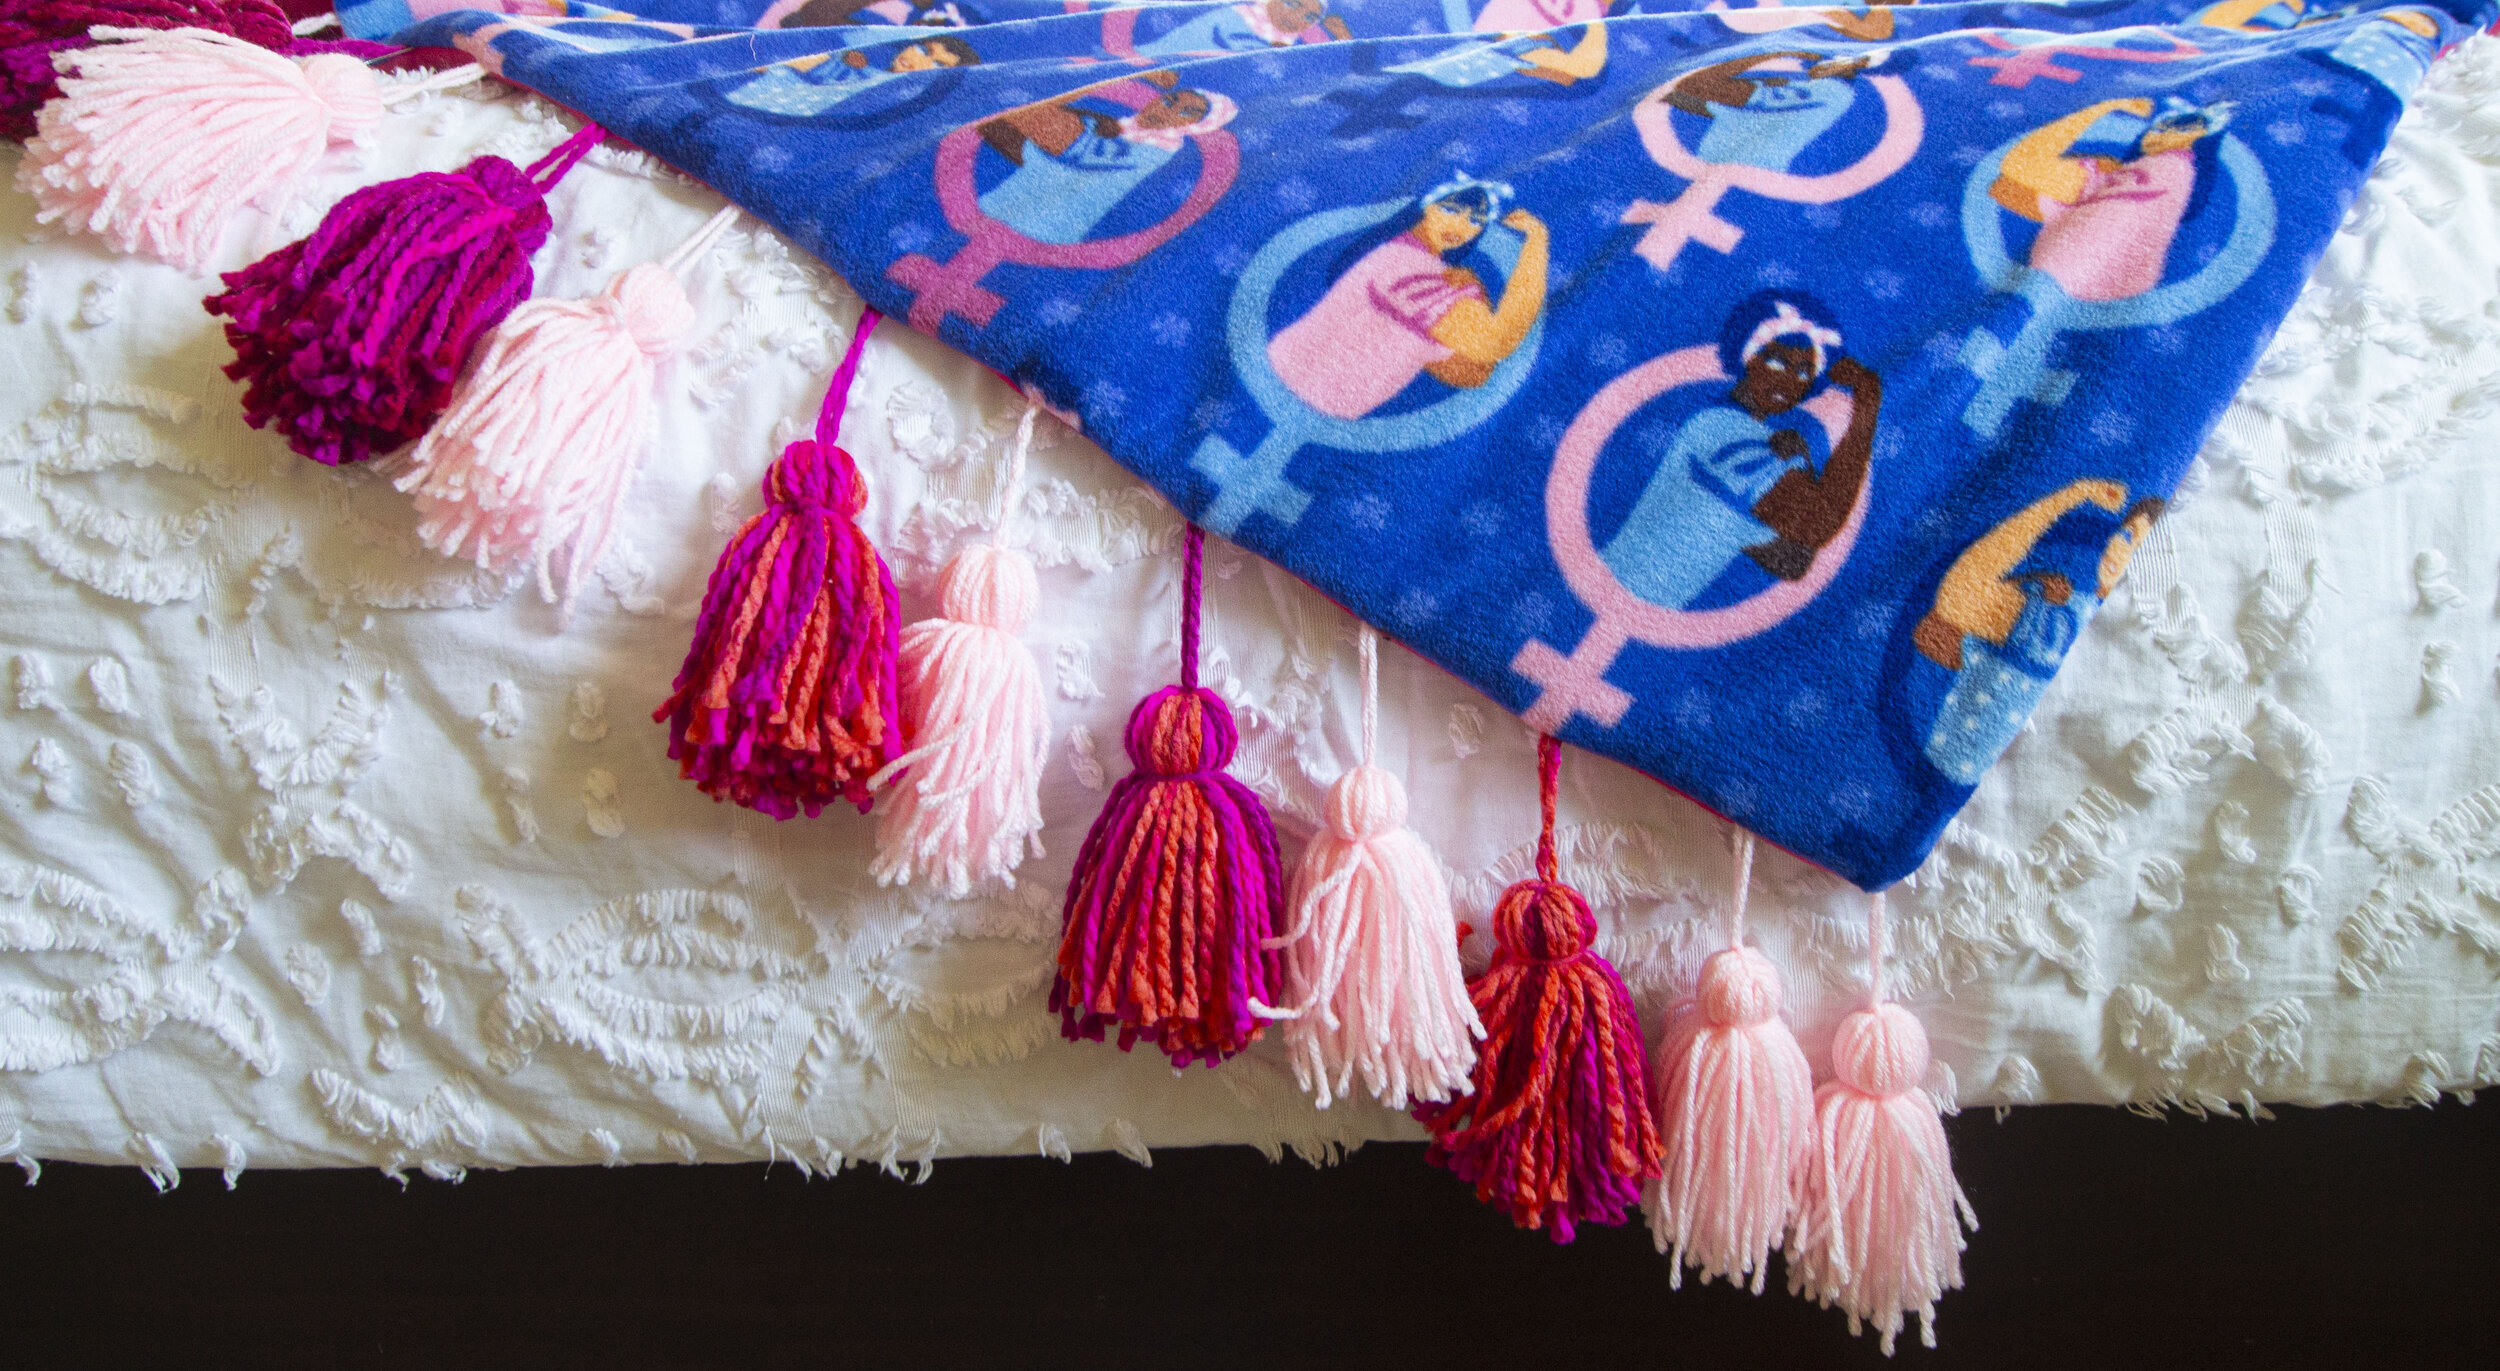
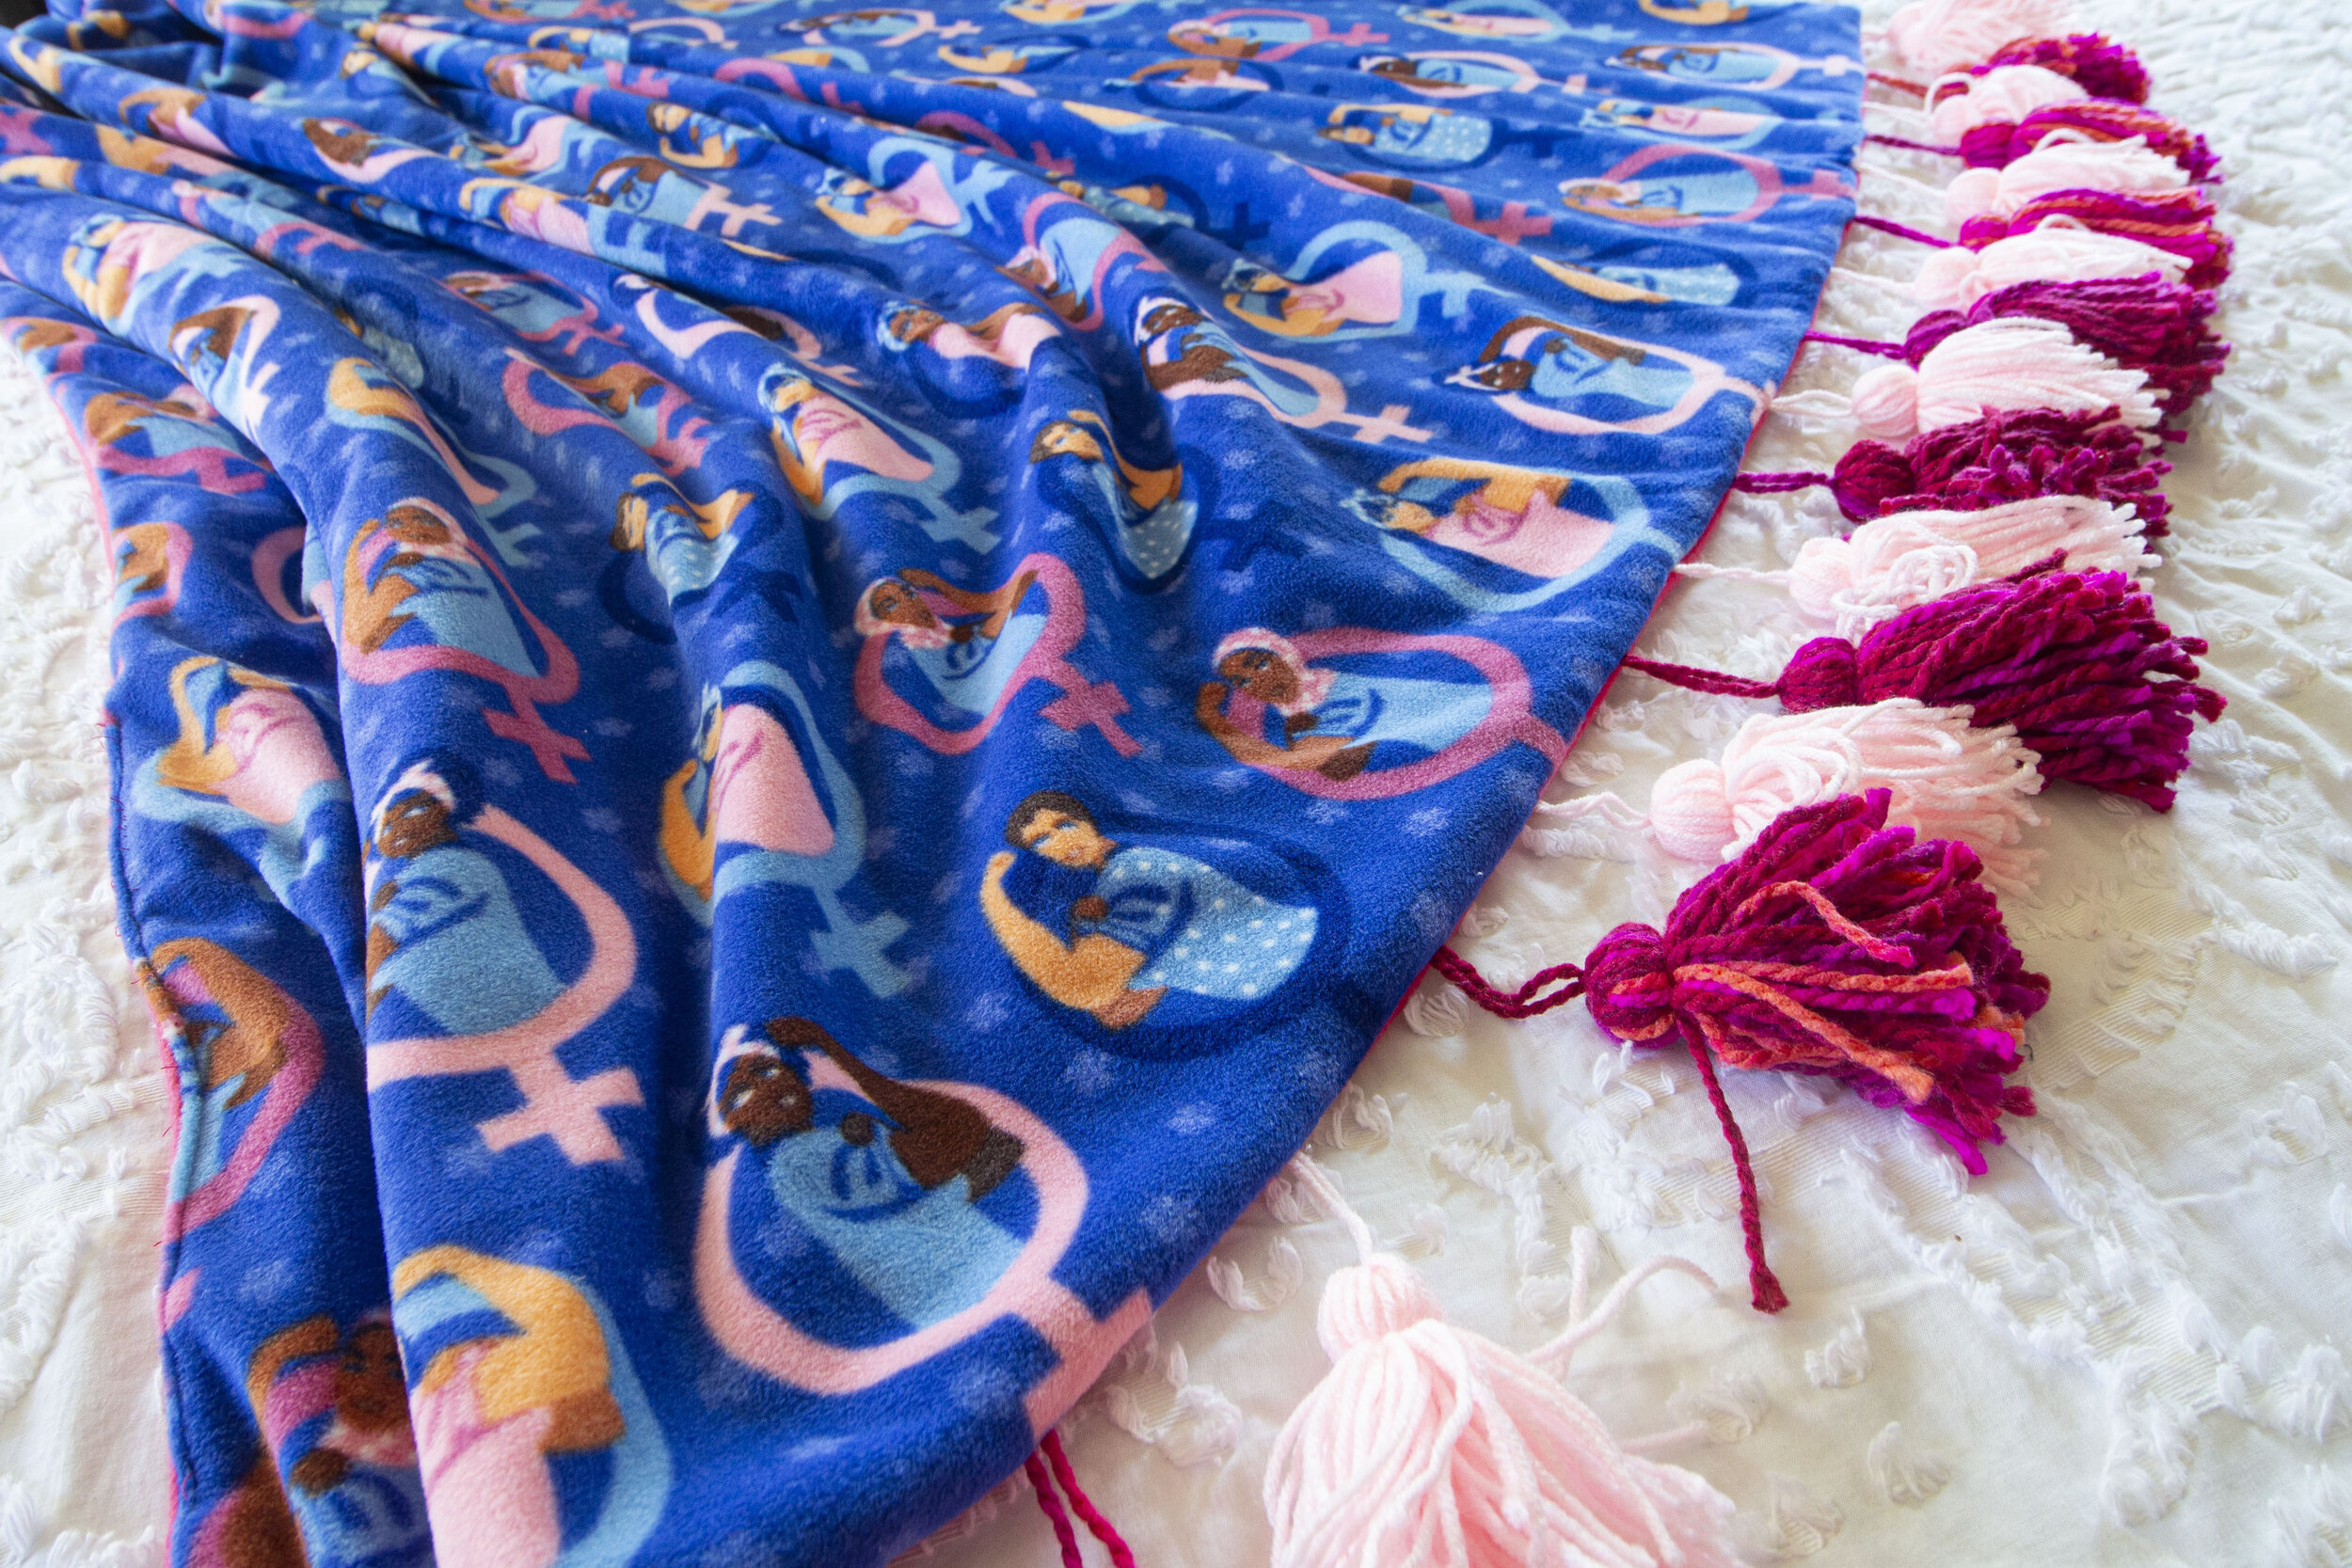
Similar Women’s History Fleece: Option 1 or Option 2
Backing Fleece
Yarn (amount and colors depending on your personal preference)
Brother SE625
Thread
INSTRUCTIONS:
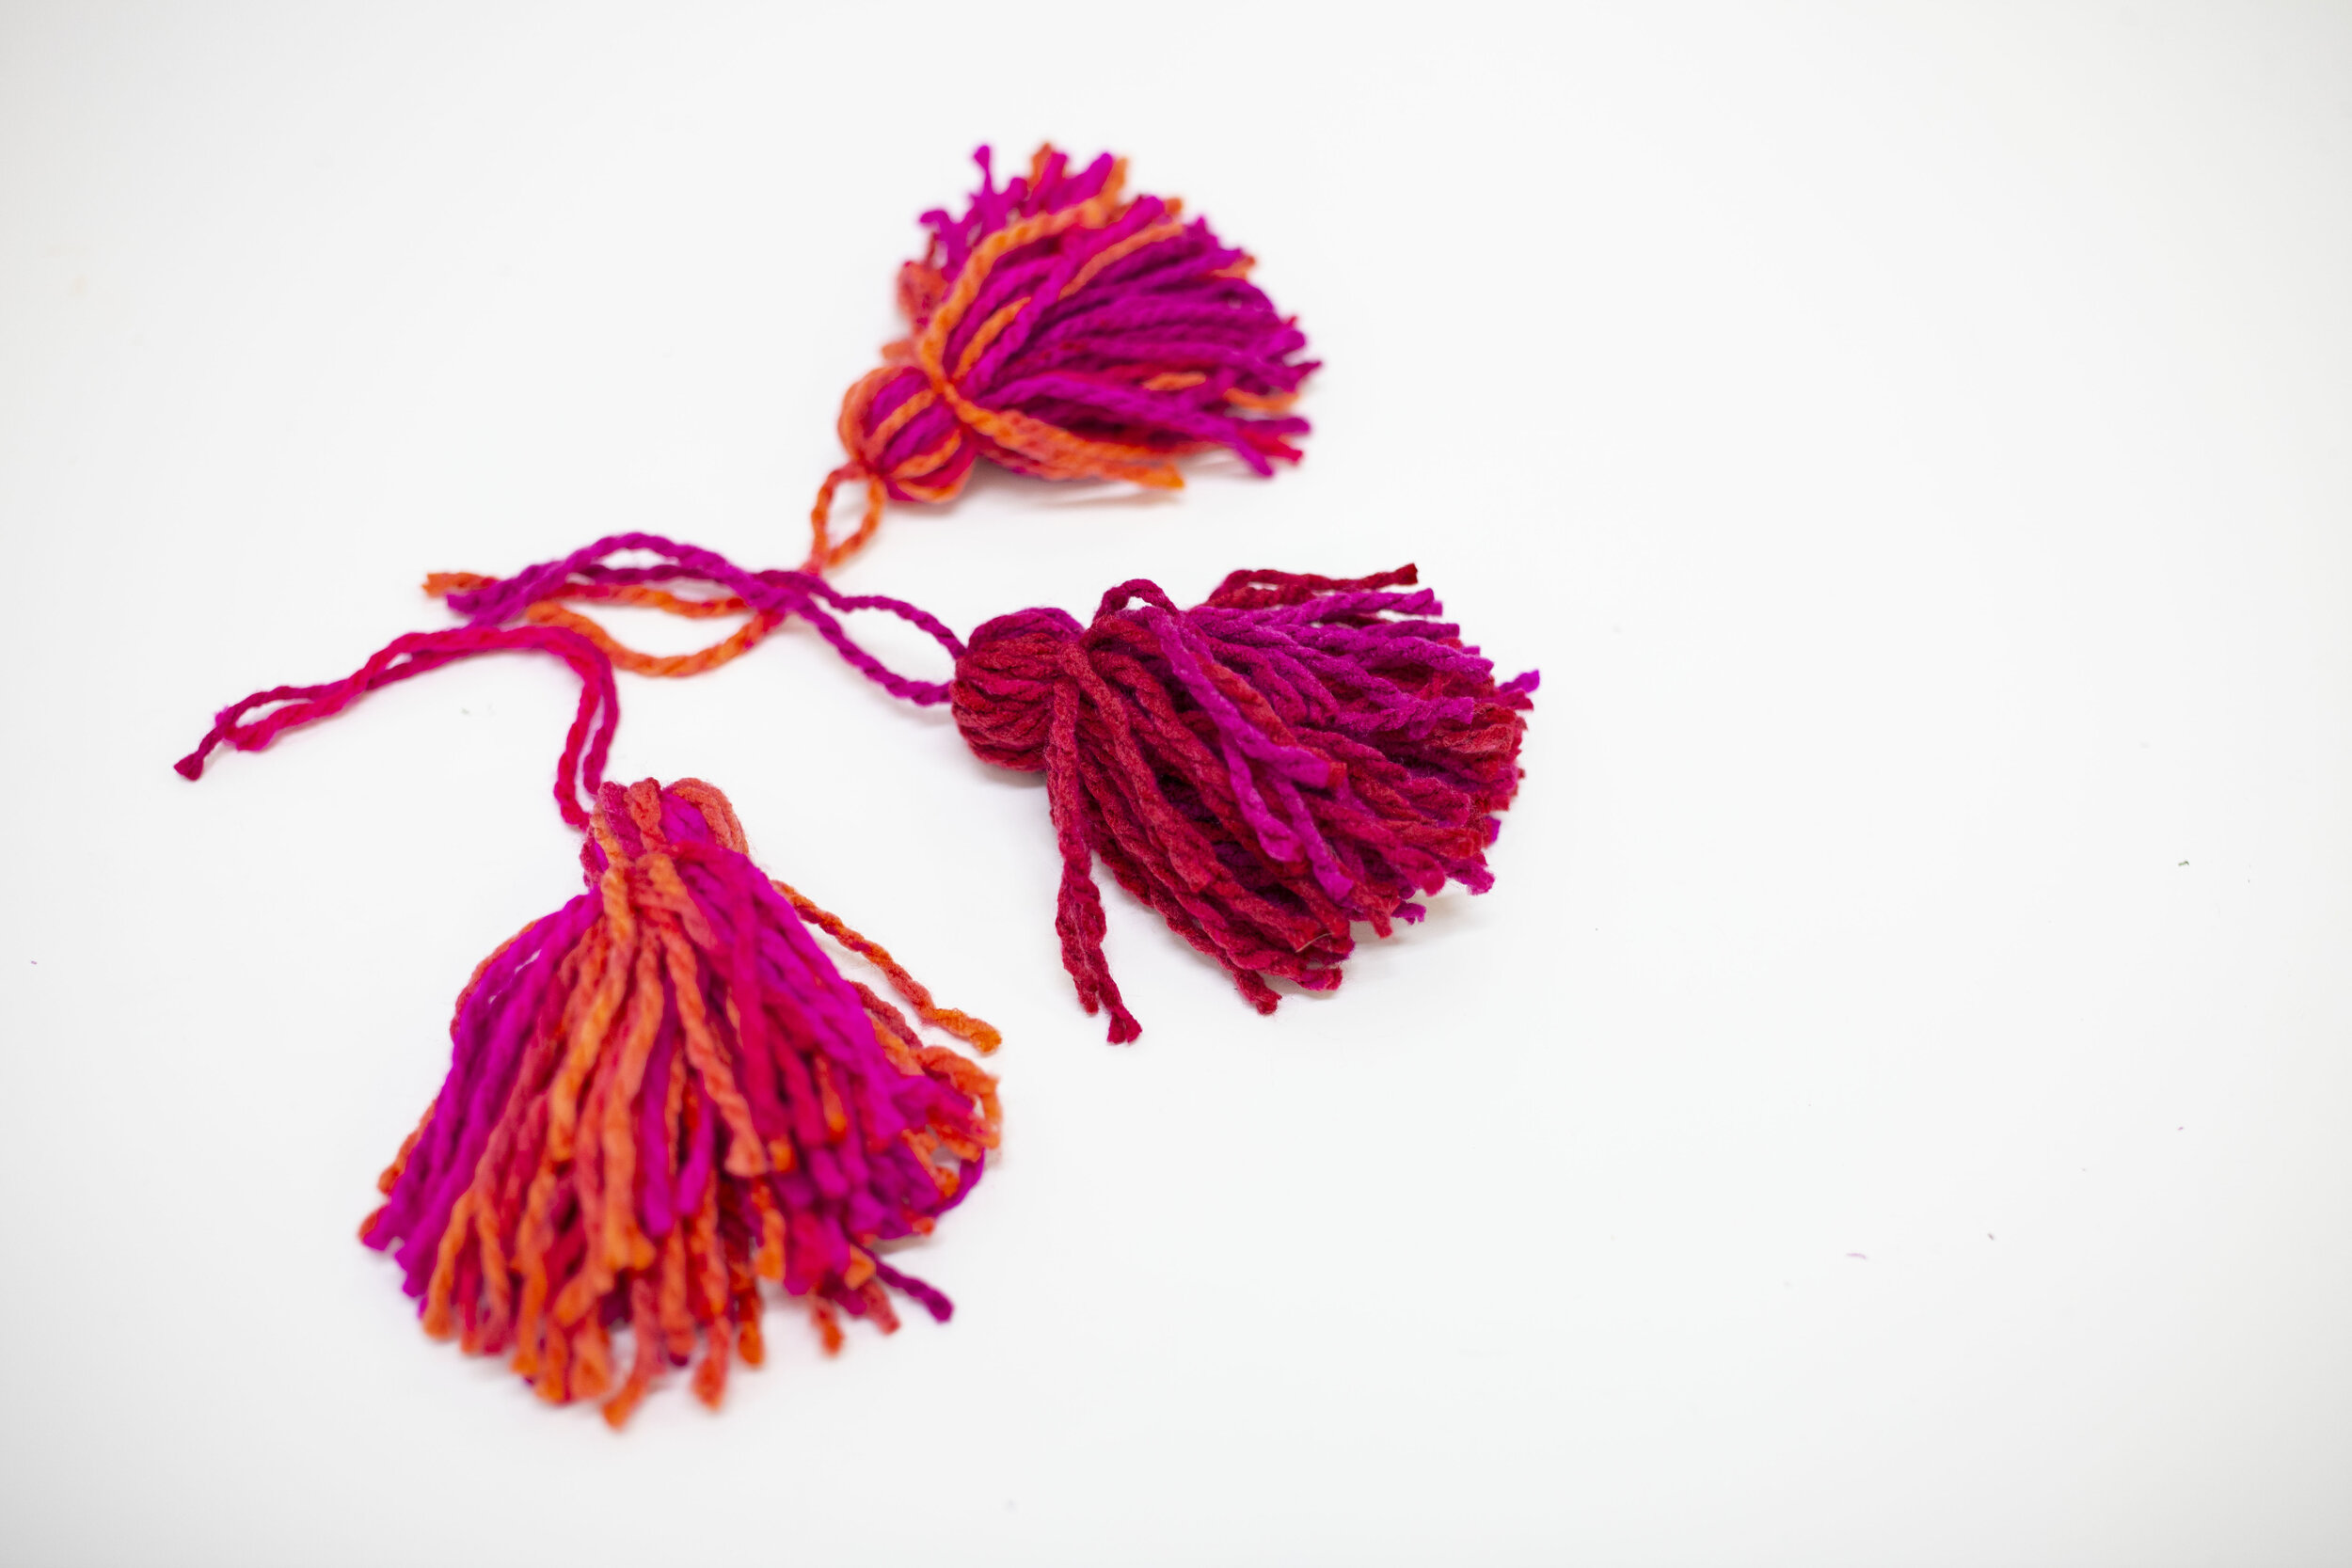
Create 20 tassels using tassel maker.
Cut both fabrics at 60” x 60”.
With right sides facing, pin and sew all sides leaving an opening on the right s
the bottom edge free. Use a 1/2” seam allowance. [Note : DO NOT sew bottom edge just yet.]
Using your sewing machine, stitch one tassel onto bottom edge of blanket every 3”. Be sure that each tassel is secure by stitching forward and back several times.
Once each tassel is sewn onto the blanket, tuck them to the inside of the blanket. Pin and sew bottom edge of blanket.
Flip blanket right side out using the opening you created early on. Once that’s done, stitch the blanket closed by stitching as close to the edge as possible
That’s it! Easy right?!
NOTE: For this project, make your tassels using the Clover Tassel Maker depending on how large you want to make both your blanket and how big you want the tassels to be.