How to Create a Faux Quilt Block
Hey there, fellow Sewist! So, you might be scratching your head and asking, "What on earth would I do with a sublimation printer?" Well, let me tell you, it's actually pretty handy for us crafty folks. Here's why:
It's like adding another paintbrush to your creative palette. Imagine all the cool designs and patterns you can print directly onto fabric! It's like unlocking a whole new realm of possibilities for your sewing projects.
Having a sublimation printer means you can easily transfer intricate designs onto fabric without the fuss of other methods. No more painstakingly hand-painting or struggling with clunky transfers. It's all about streamlining your process and making your projects shine.
Let's not forget the convenience factor. Having access to tools like a sublimation printer just makes life easier. Instead of hunting down specific fabrics or spending hours trying DIY designs, you can simply print them out and get straight to sewing. It's all about efficiency, baby!
Today, I've got a nifty little trick to share with you for whipping up a quilt block in no time. Now, don't get me wrong, I've been immersing myself in the world of quilting lately, soaking up all those gorgeous designs. But let's be real here—I'm not always up for the meticulousness that comes with piecing together a quilt. So, I decided to take matters into my own hands and come up with a simplified version, perfect for those of us (ahem, me included) who prefer a quicker route. Get ready, because I'm about to unveil the cheat code for creating a quilt block using the Brother Sublimation Printer. Let's dive in!
MATERIALS
Brother Sublimation Printer or This One
Polyester Blend Fabric in White
Optional: Washi Tape

Instructions for Creating your Quilt Block Design:
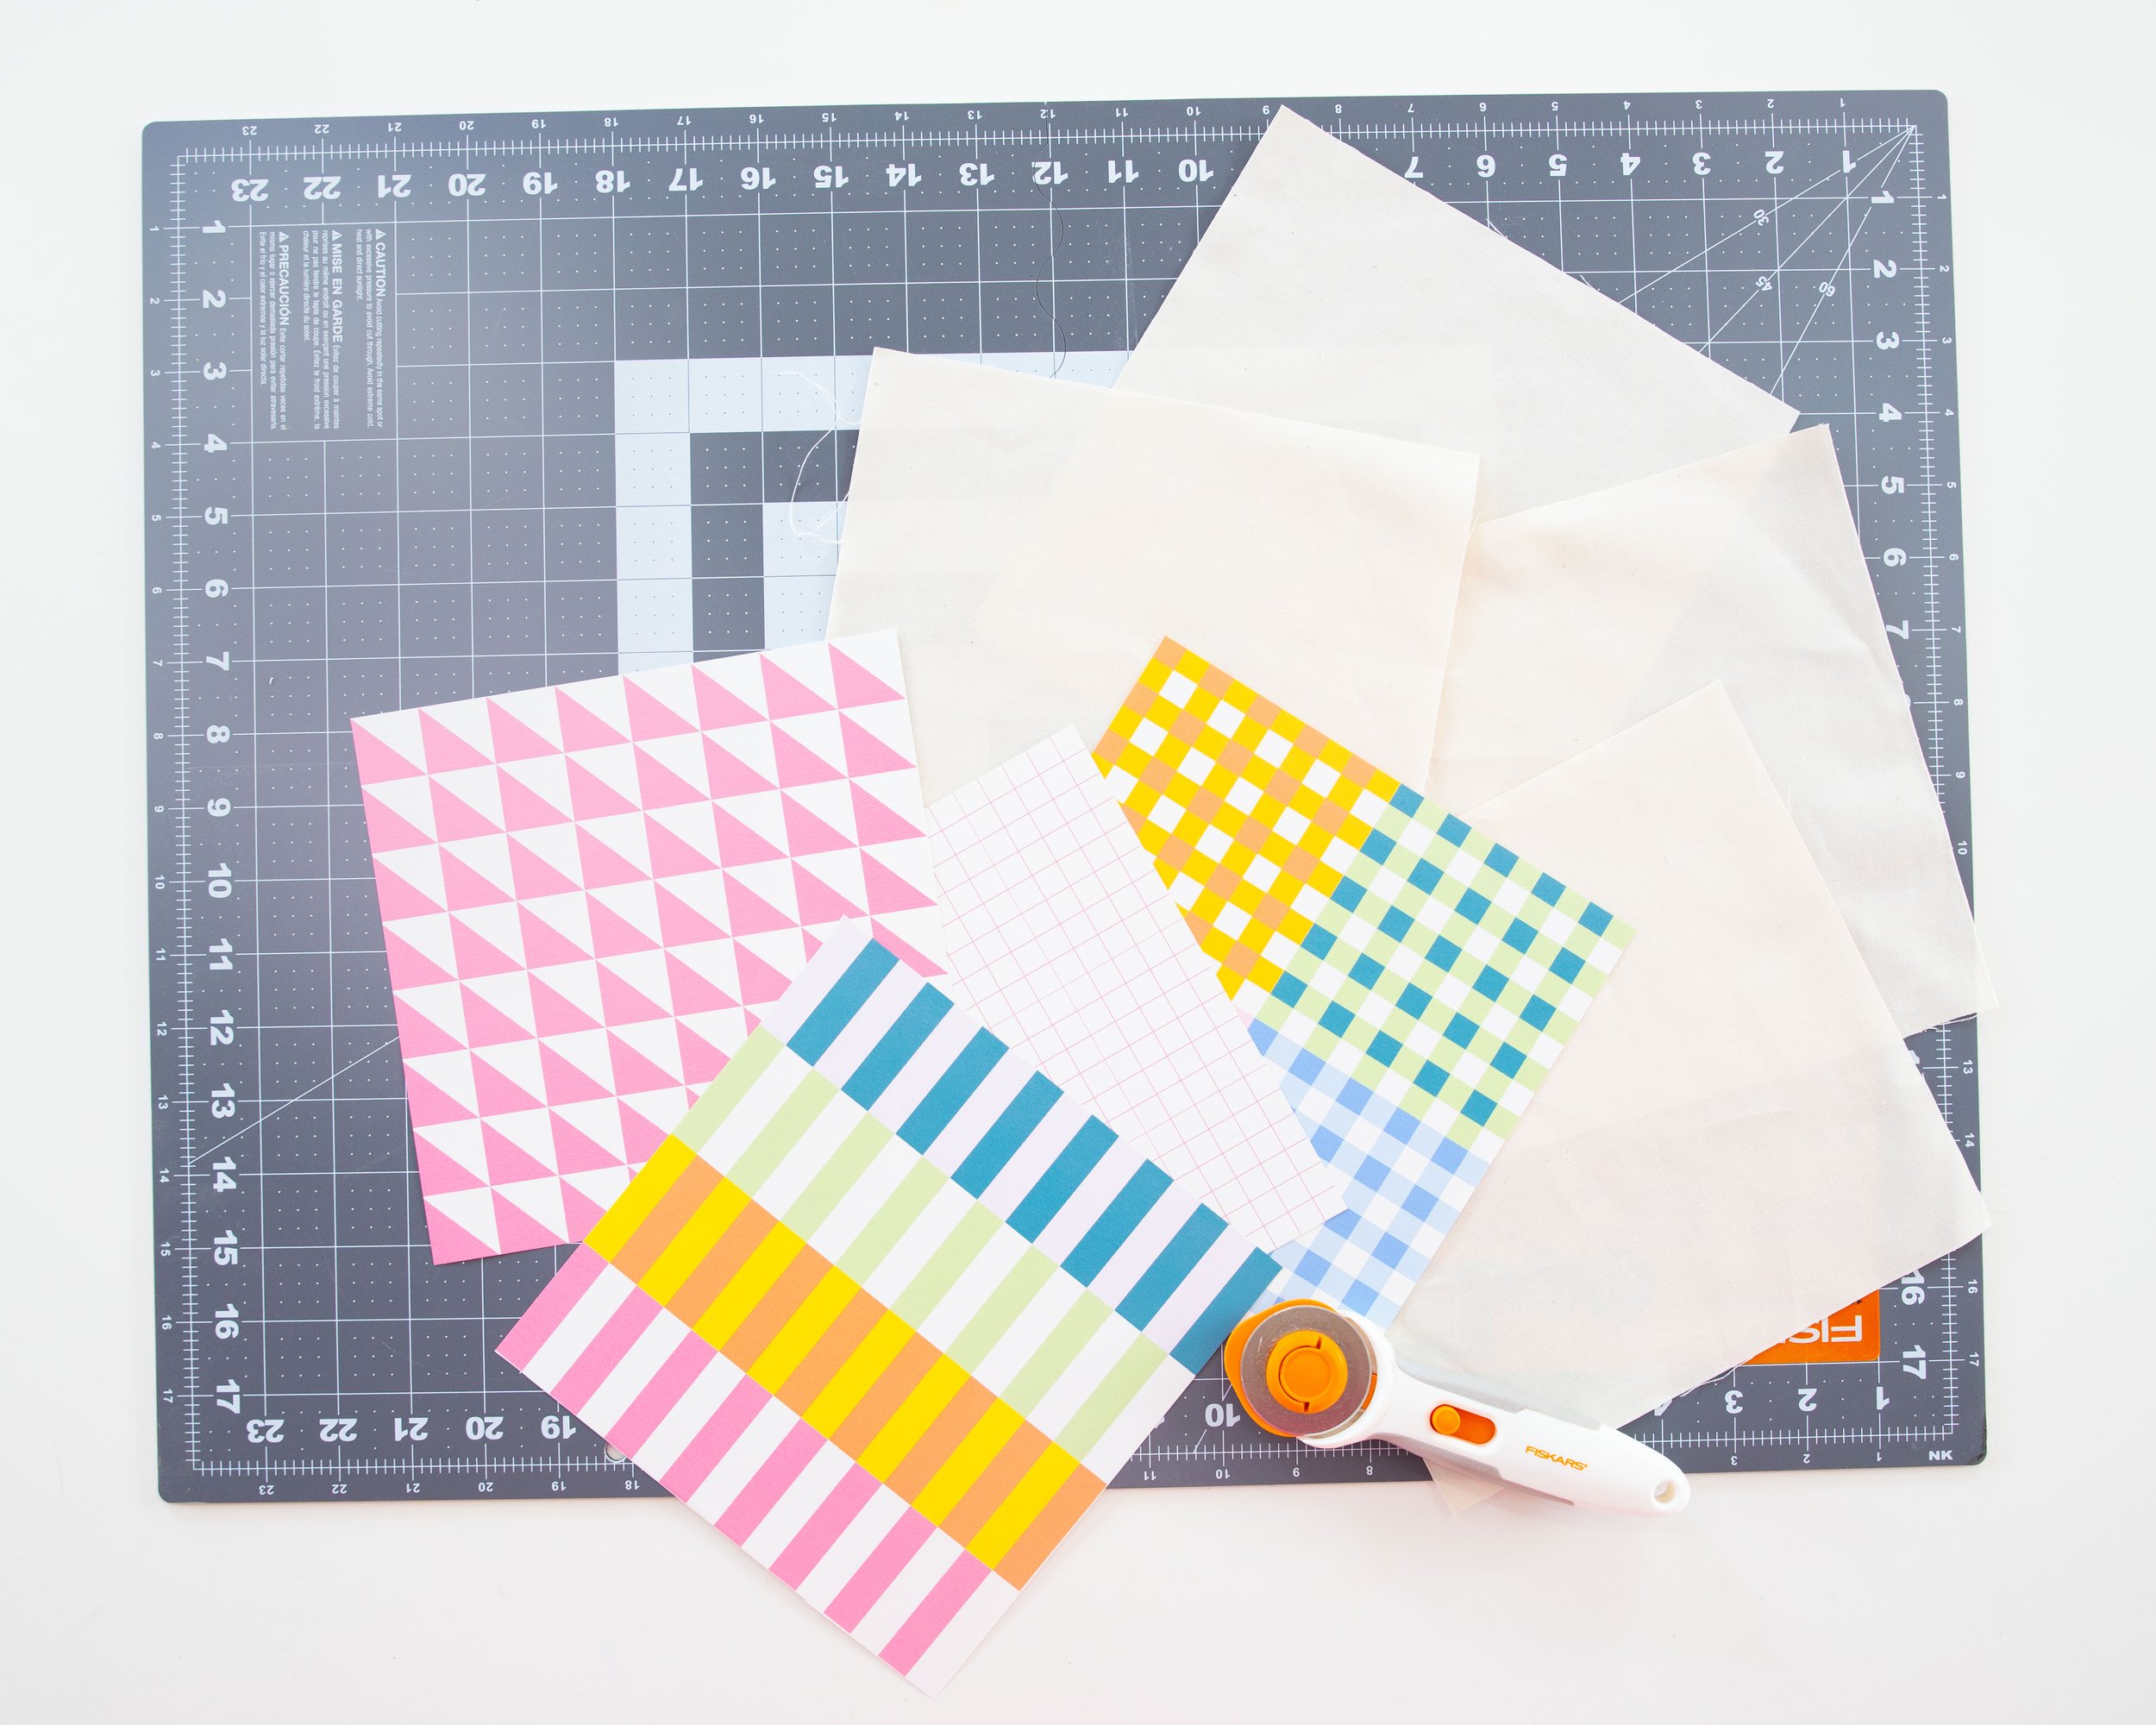
Alright, let's kick things off by crafting your very own quilt block design. Think outside the box here—play around with random shapes and vibrant colors to bring your vision to life. You can flex your creative muscles using platforms like Adobe Photoshop, Illustrator, or Canva—whichever floats your boat and feels easiest for you to work with. Just make sure your design measures a neat 8” x 8” to fit perfectly onto the sublimation paper.
Now, when you're saving your masterpiece, remember this golden rule: save it as a JPG file. Resist the urge to go for PNG with a transparent background, because here's the kicker—when you upload it into the Brother Artspira app, that transparent background will morph into a bold black backdrop. Not exactly the vibe we're going for, right? So, stick with JPG, and you'll sidestep any sneaky surprises when it's time to hit print. Easy peasy!
Here's my little trick to make sure my designs come out just the way I want them: I set up my work area that I am creating on to be 8.5 x 11 inches. That means, when I upload it into Artspira and stretch it to its max size, I can trust that my design will stay a neat 8 inches. It's all about setting up the perfect canvas for your creativity to shine!
Don’t want to design your own, GRAB YOUR FREE DESIGNS HERE.

Instructions for Sublimating Your Quilt Block Design:
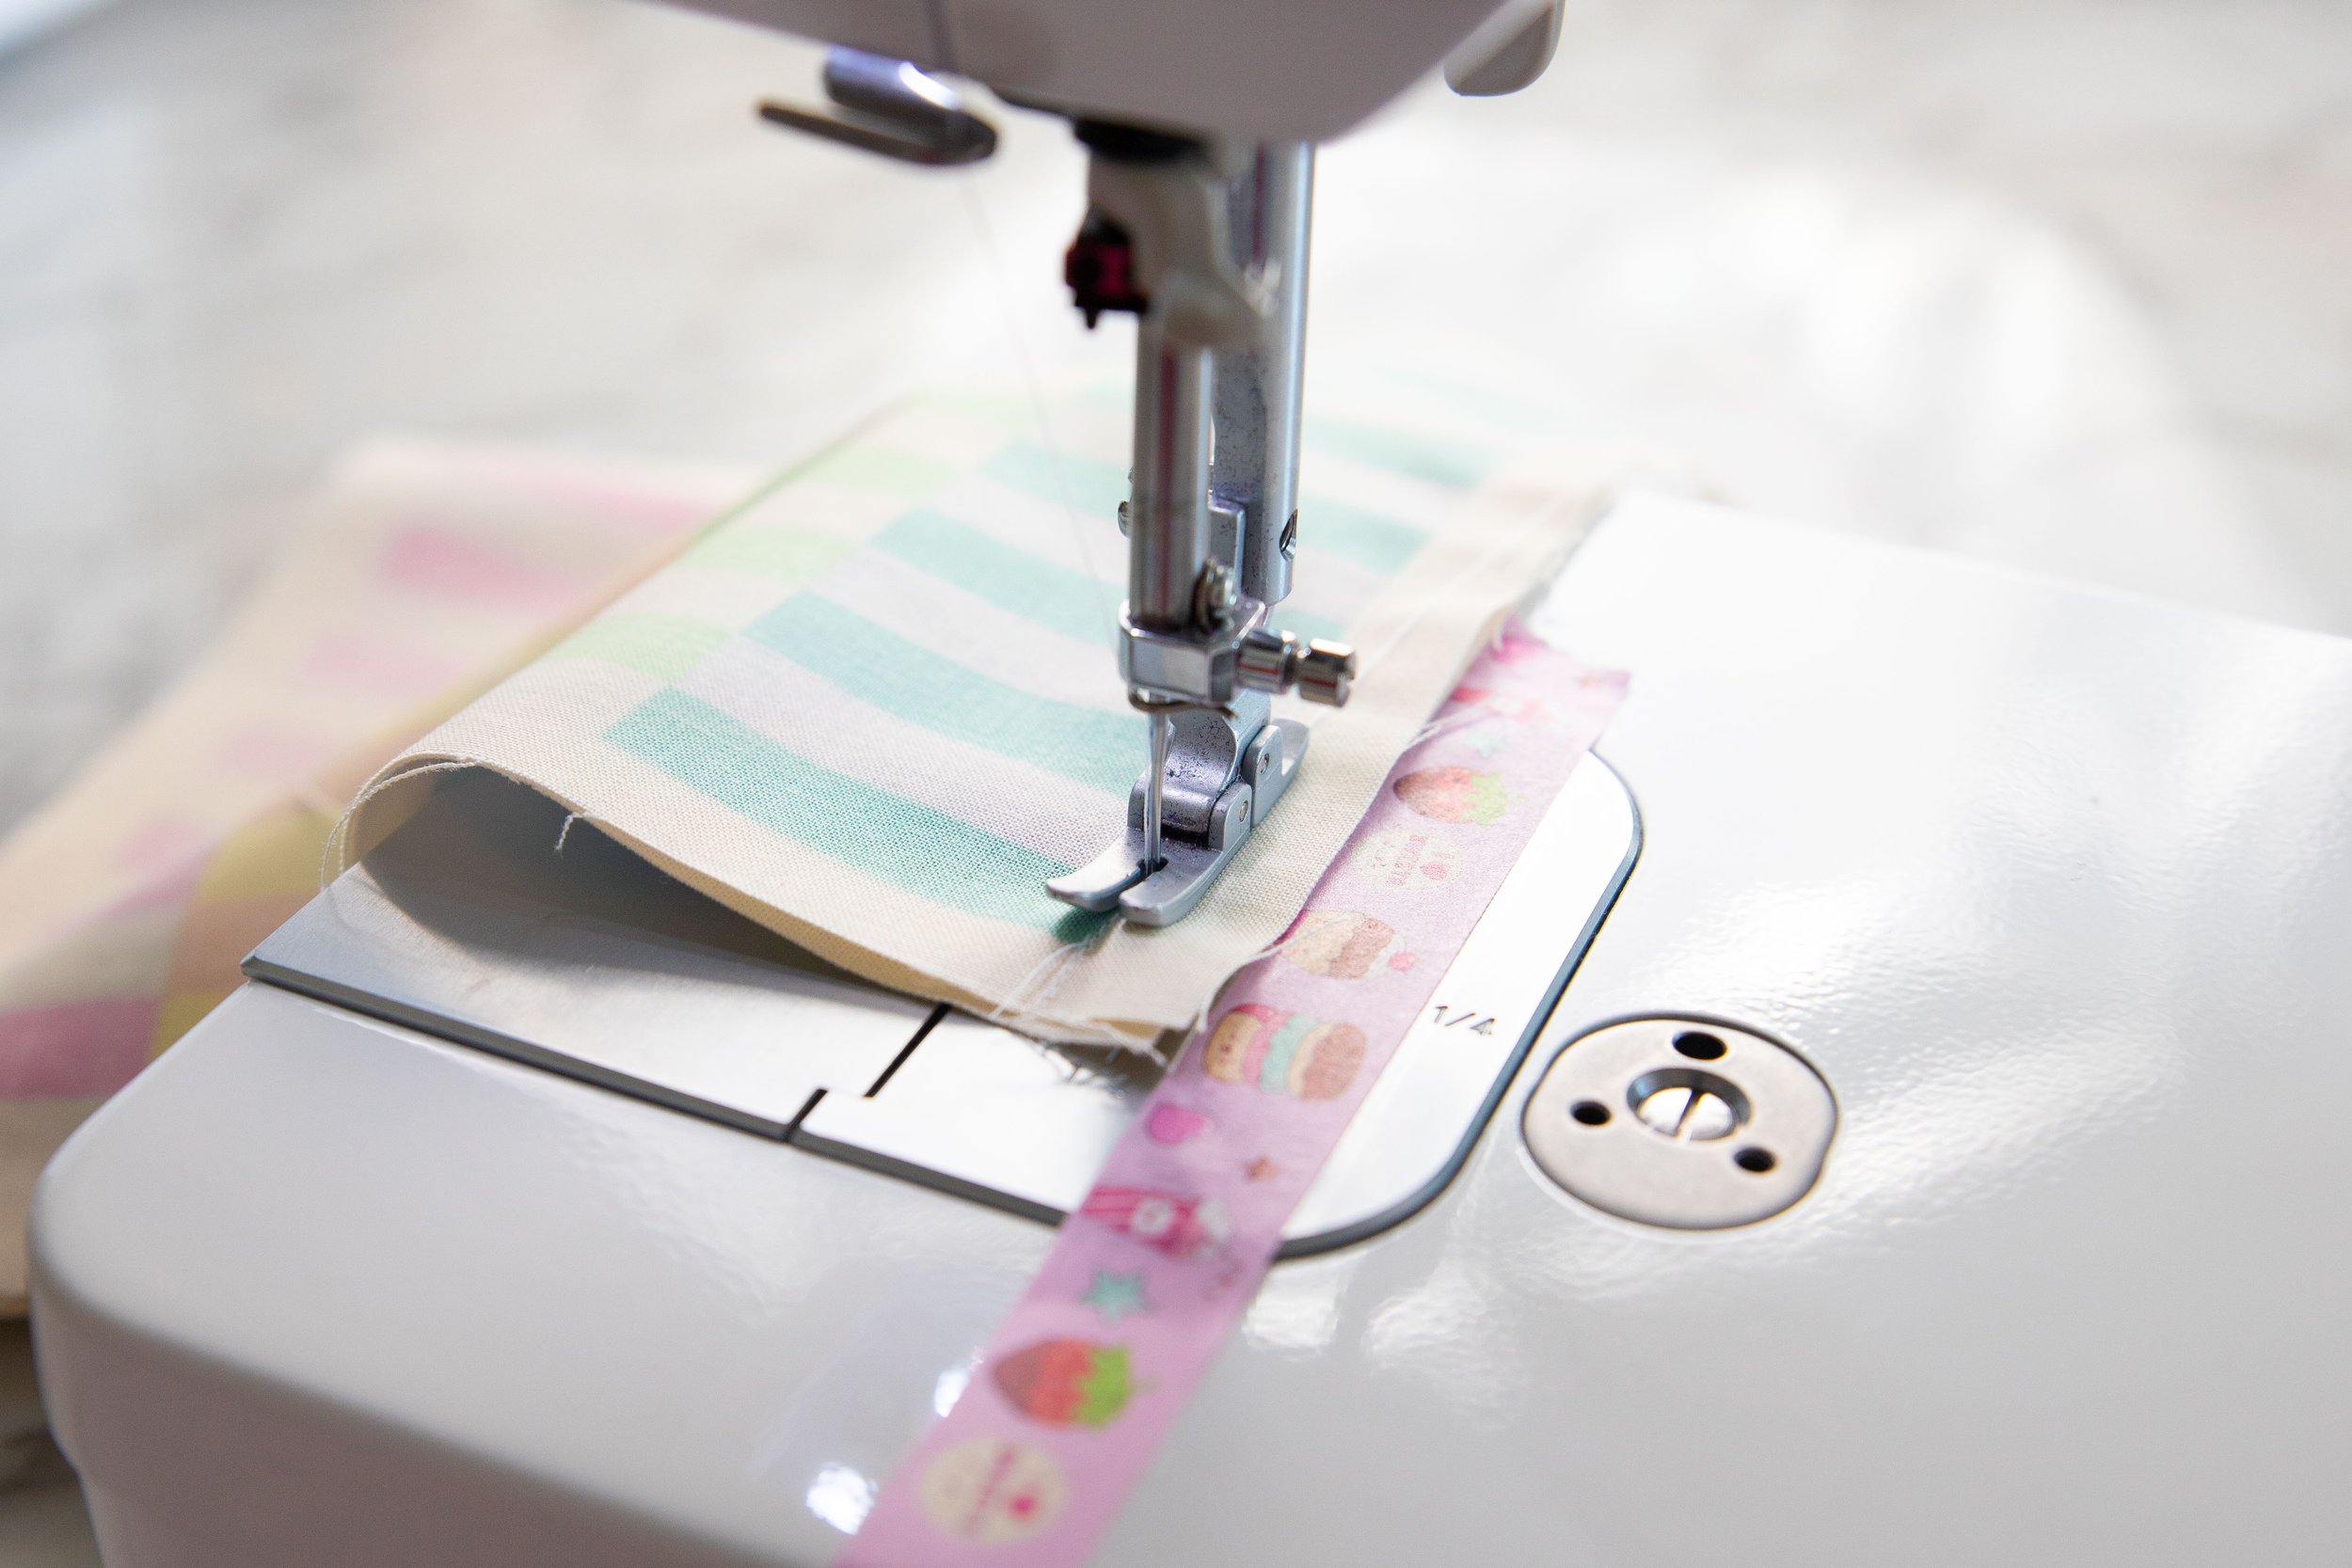
Start by cutting your fabric into pieces measuring 8.5” x 8.5” using a rotary cutter and mat for a precise, clean cut.
Use an iron to smooth out any wrinkles from the fabric.
Print multiple copies of your design, noting that the prints may appear faded, which is normal.
Position your design face down in the center of the fabric, leaving a .5” seam allowance around the edges.
Secure the sublimation paper to the fabric using heat tape to prevent any shifting during the process.
Adjust your heat press to 370 degrees Fahrenheit. Press the sublimation paper onto the fabric for 1 minute and 30 seconds. Immediately remove the paper to reveal the vibrant print.


Tips for Sewing Your Quilt Block Design
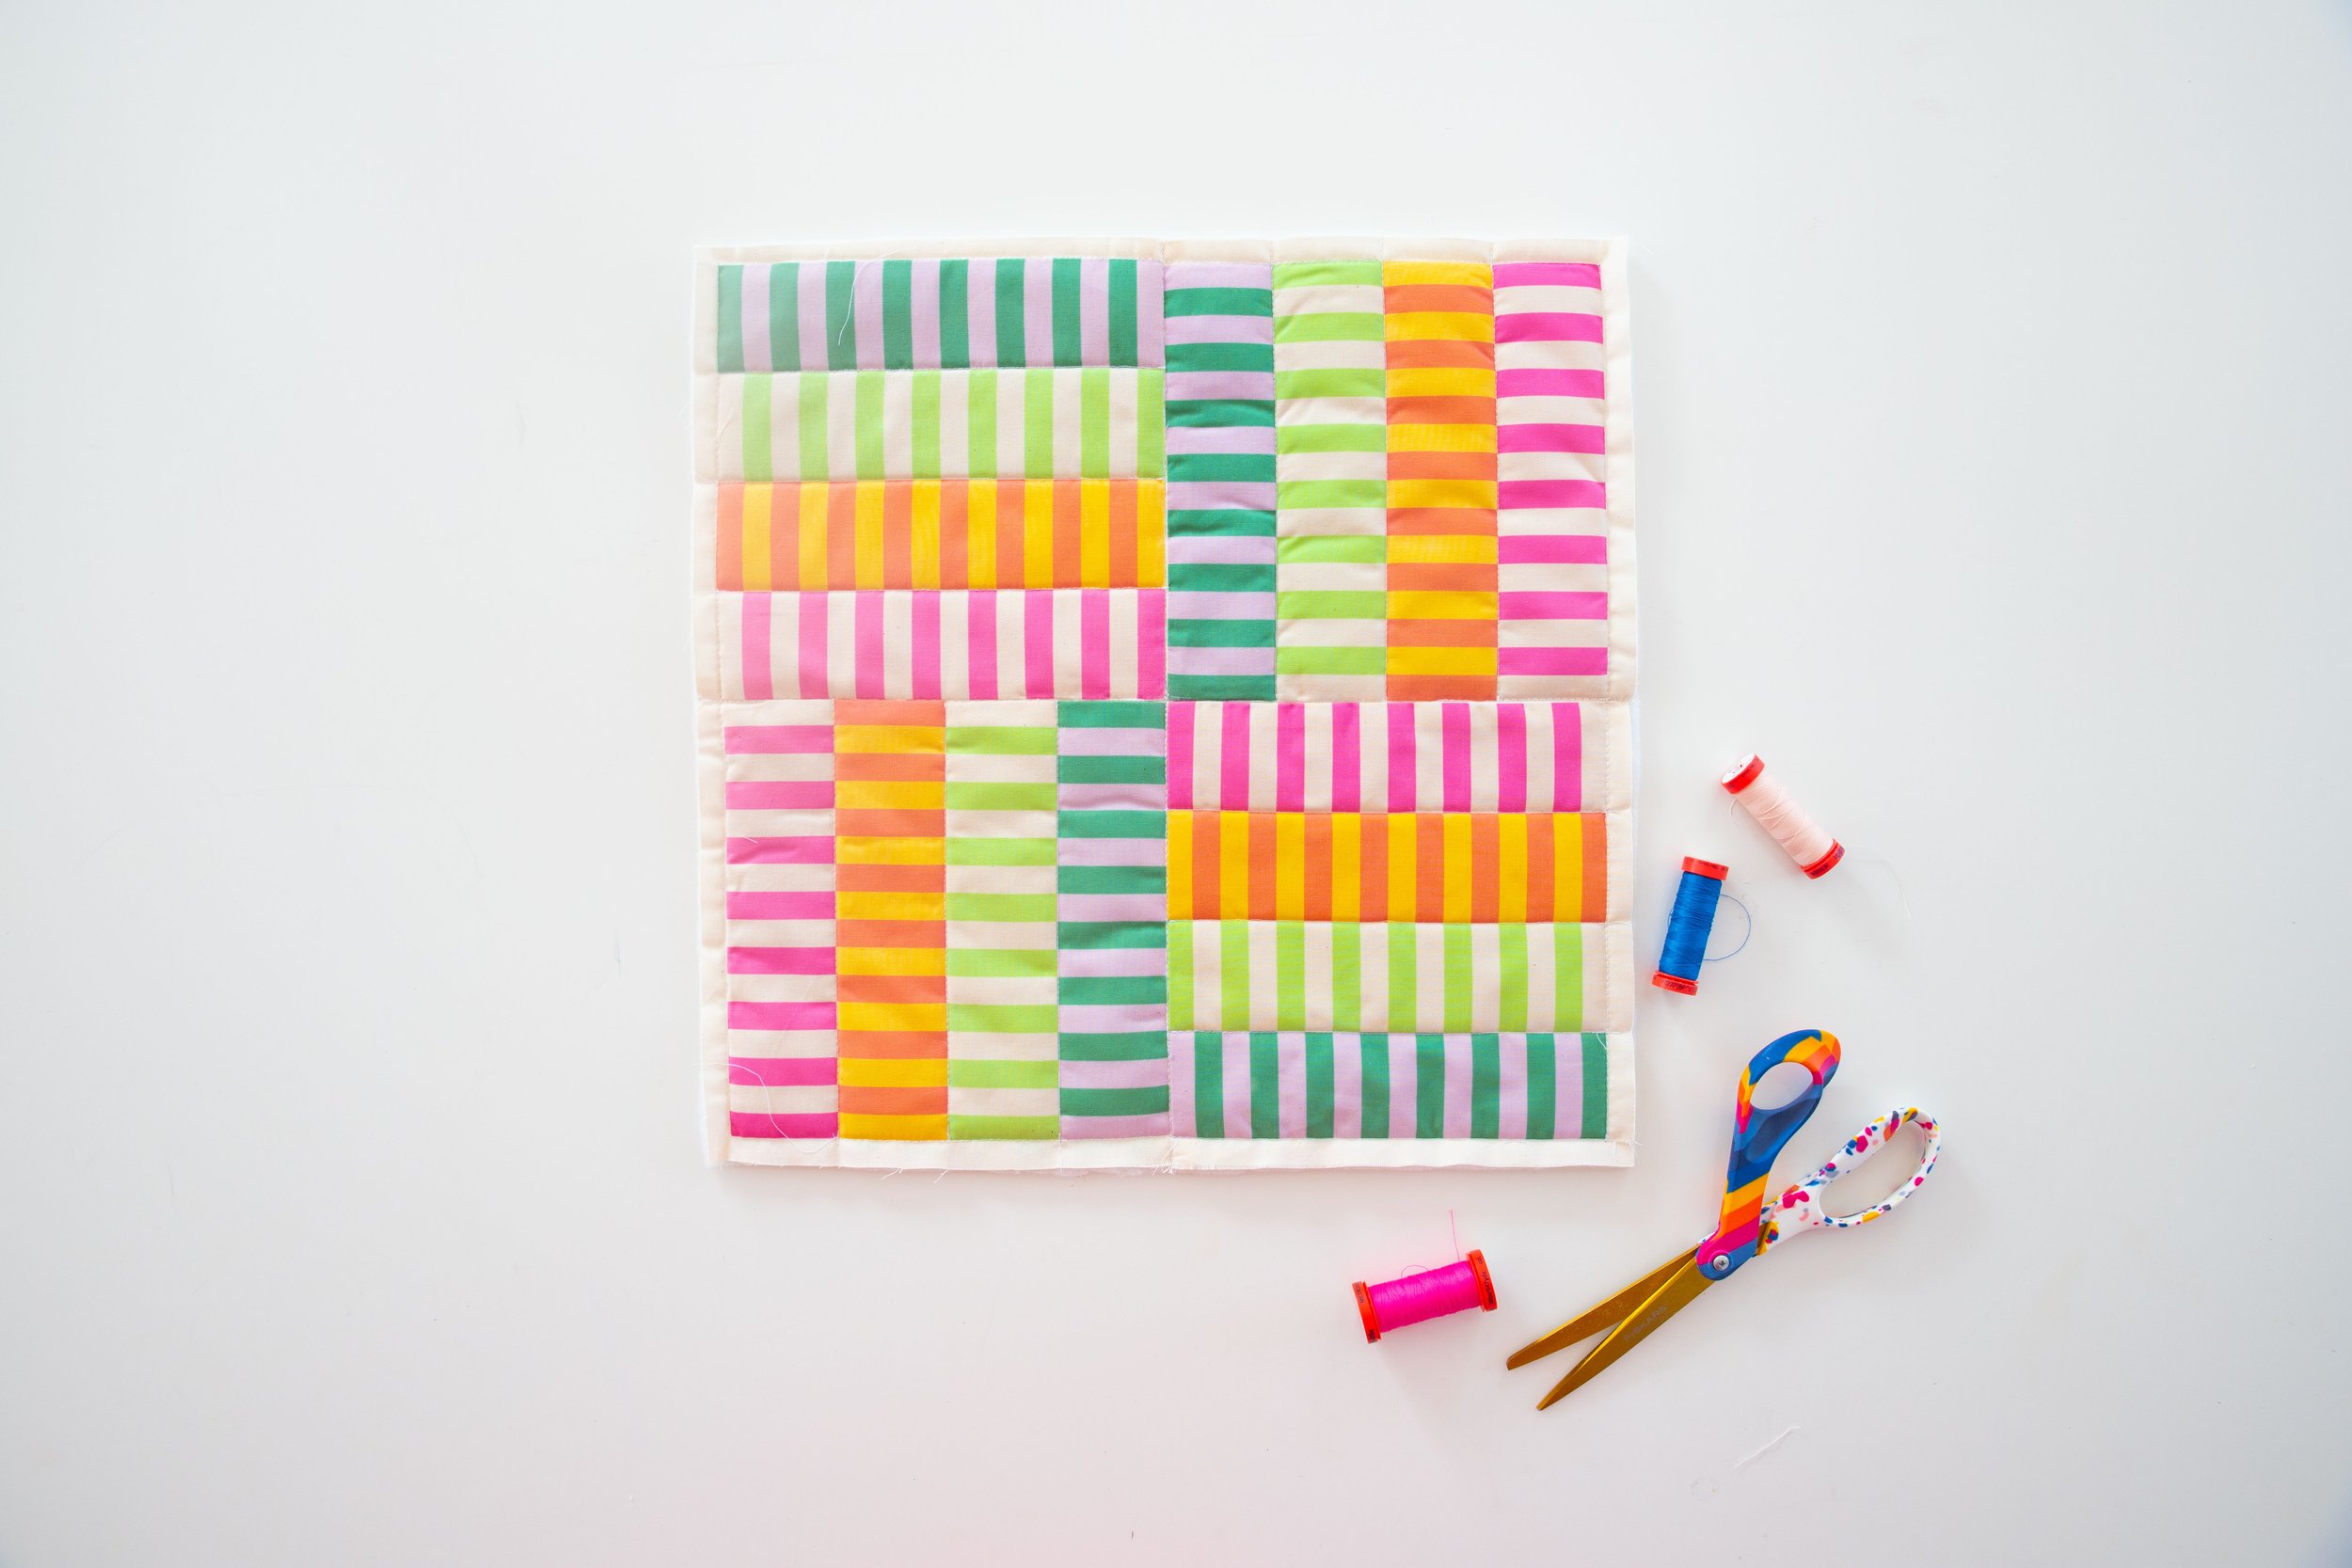
Spread out your design on a sturdy surface to plan the sewing direction for your project.
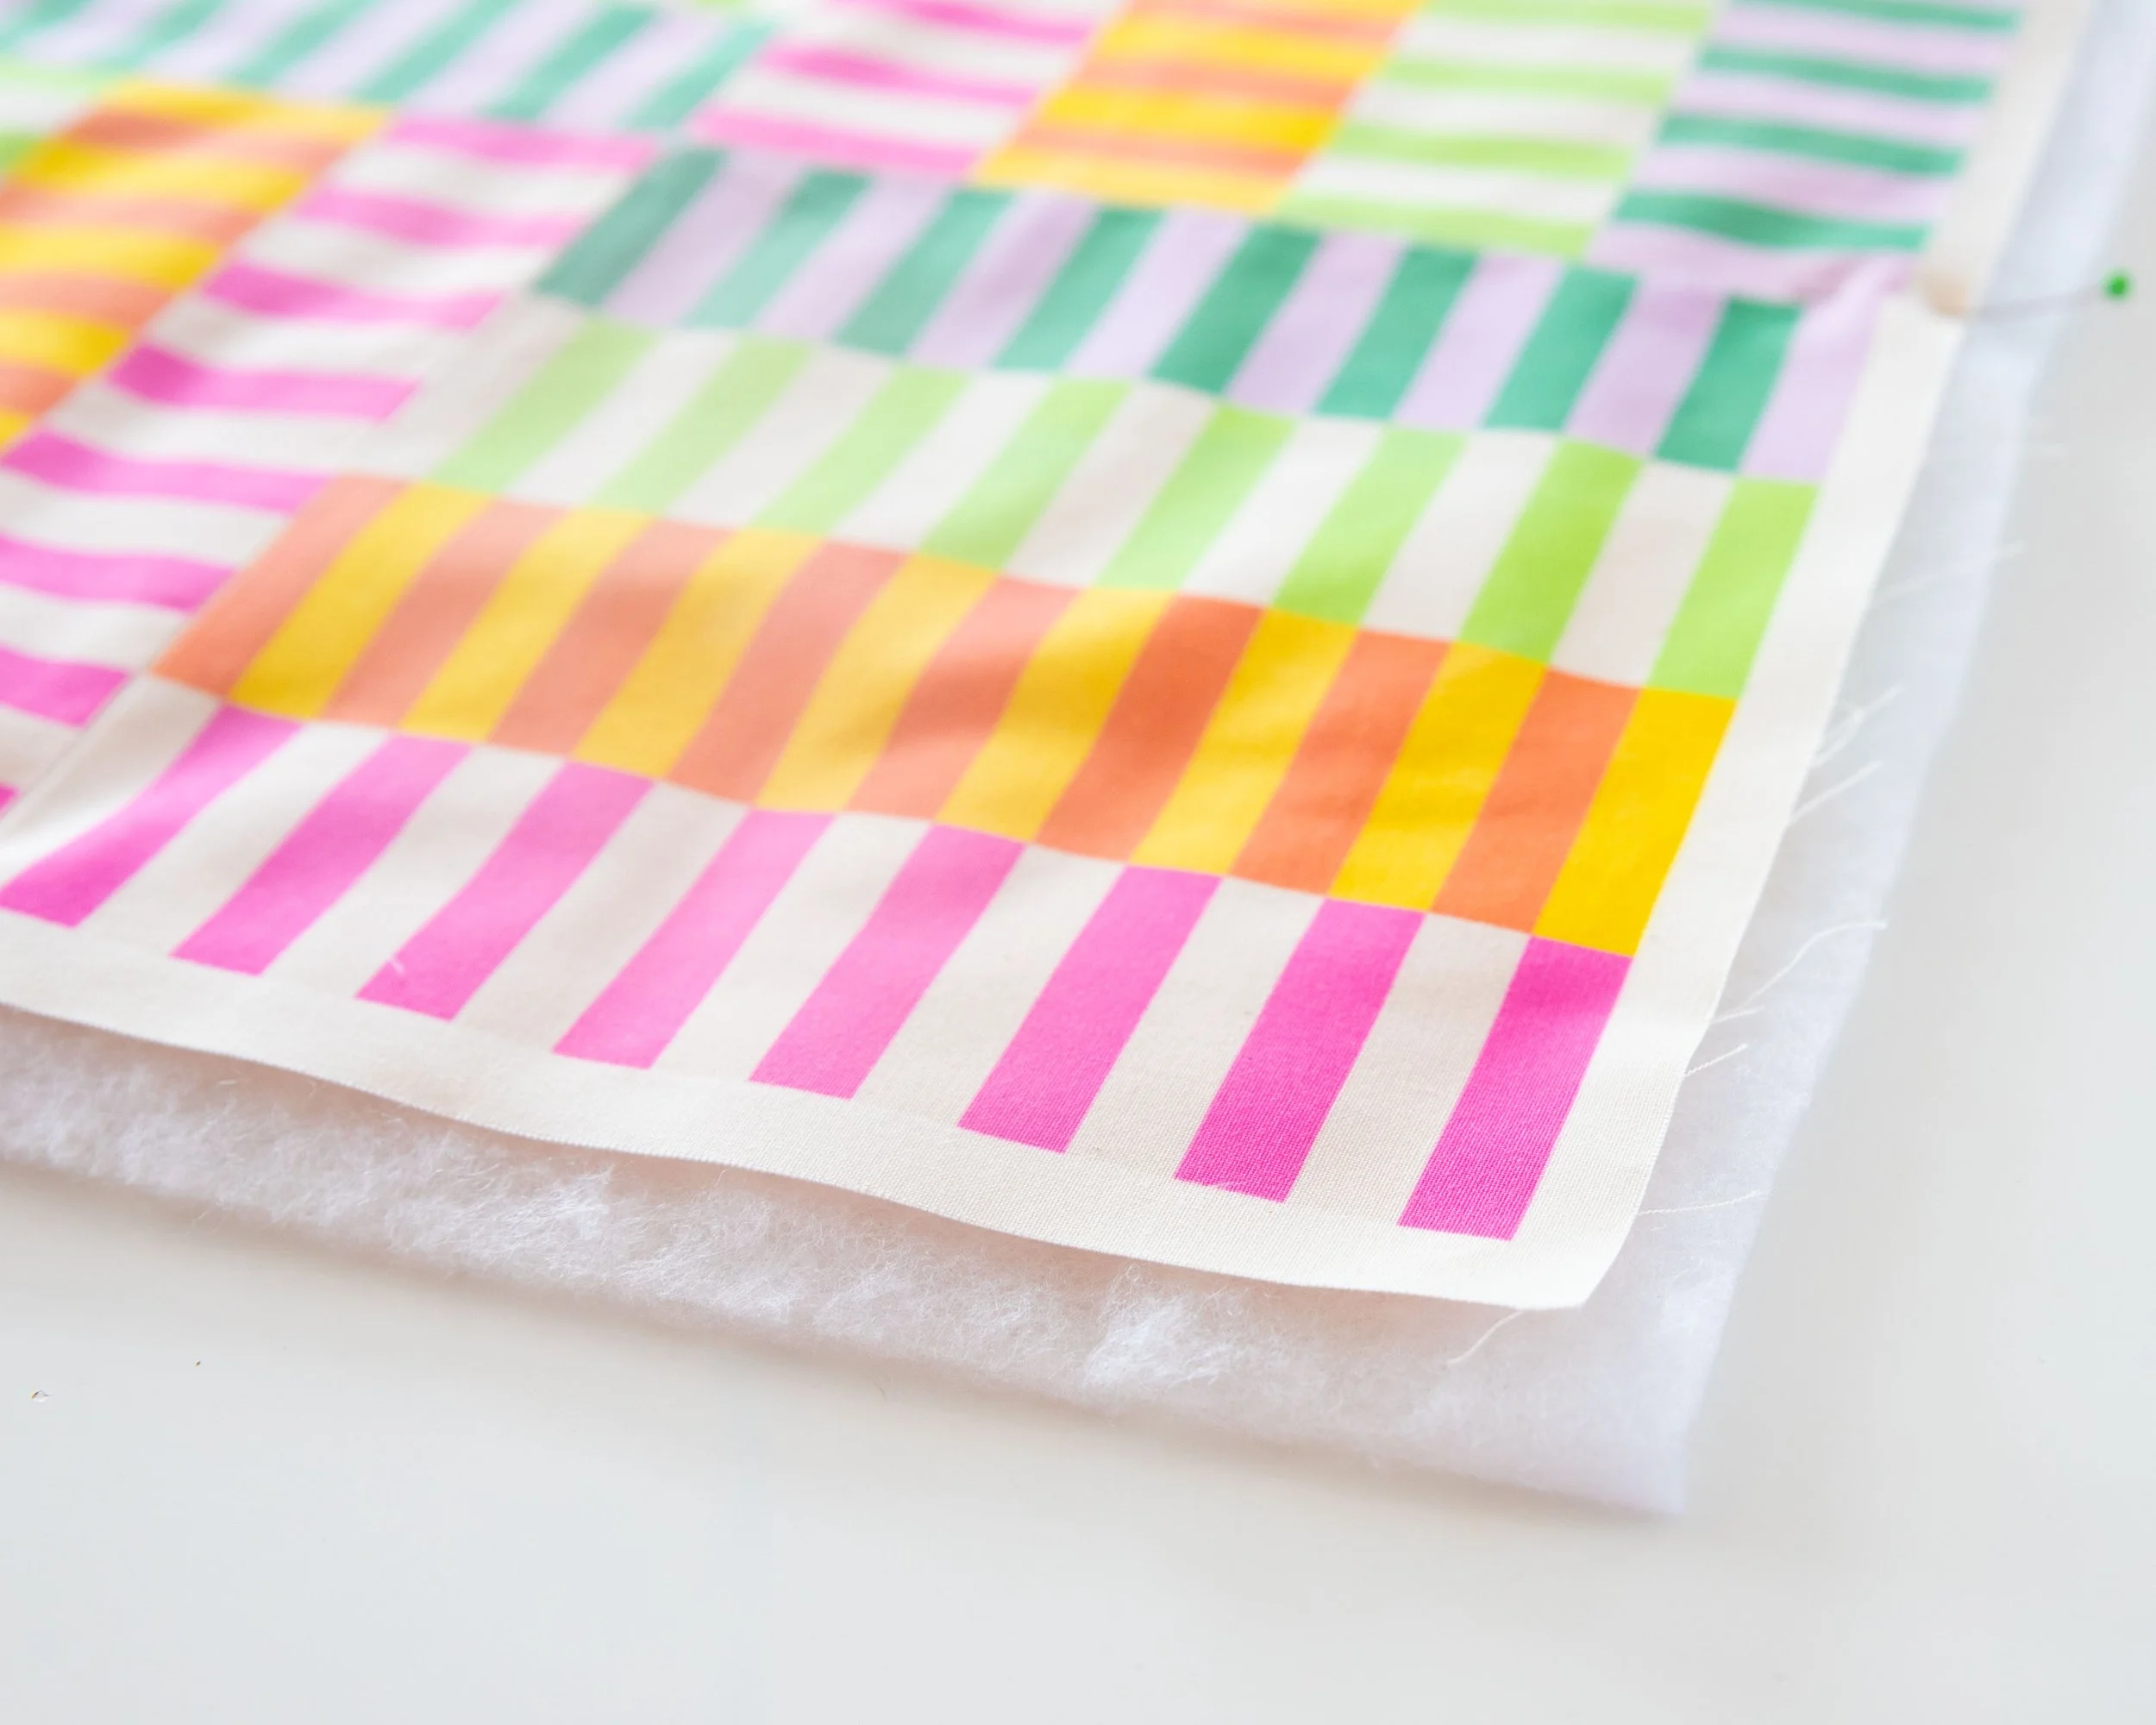
Maintain a .5” seam allowance as you stitch.
Use a hot iron to press open your seams while sewing.
After assembling your quilt block, layer it atop quilt batting and secure it with pins. Sew along the seams of each block and incorporate various designs to achieve a quilted appearance.
Employ a walking foot unless your sewing machine is equipped with settings suitable for quilting through both the top layer and batting.