DIY Labels
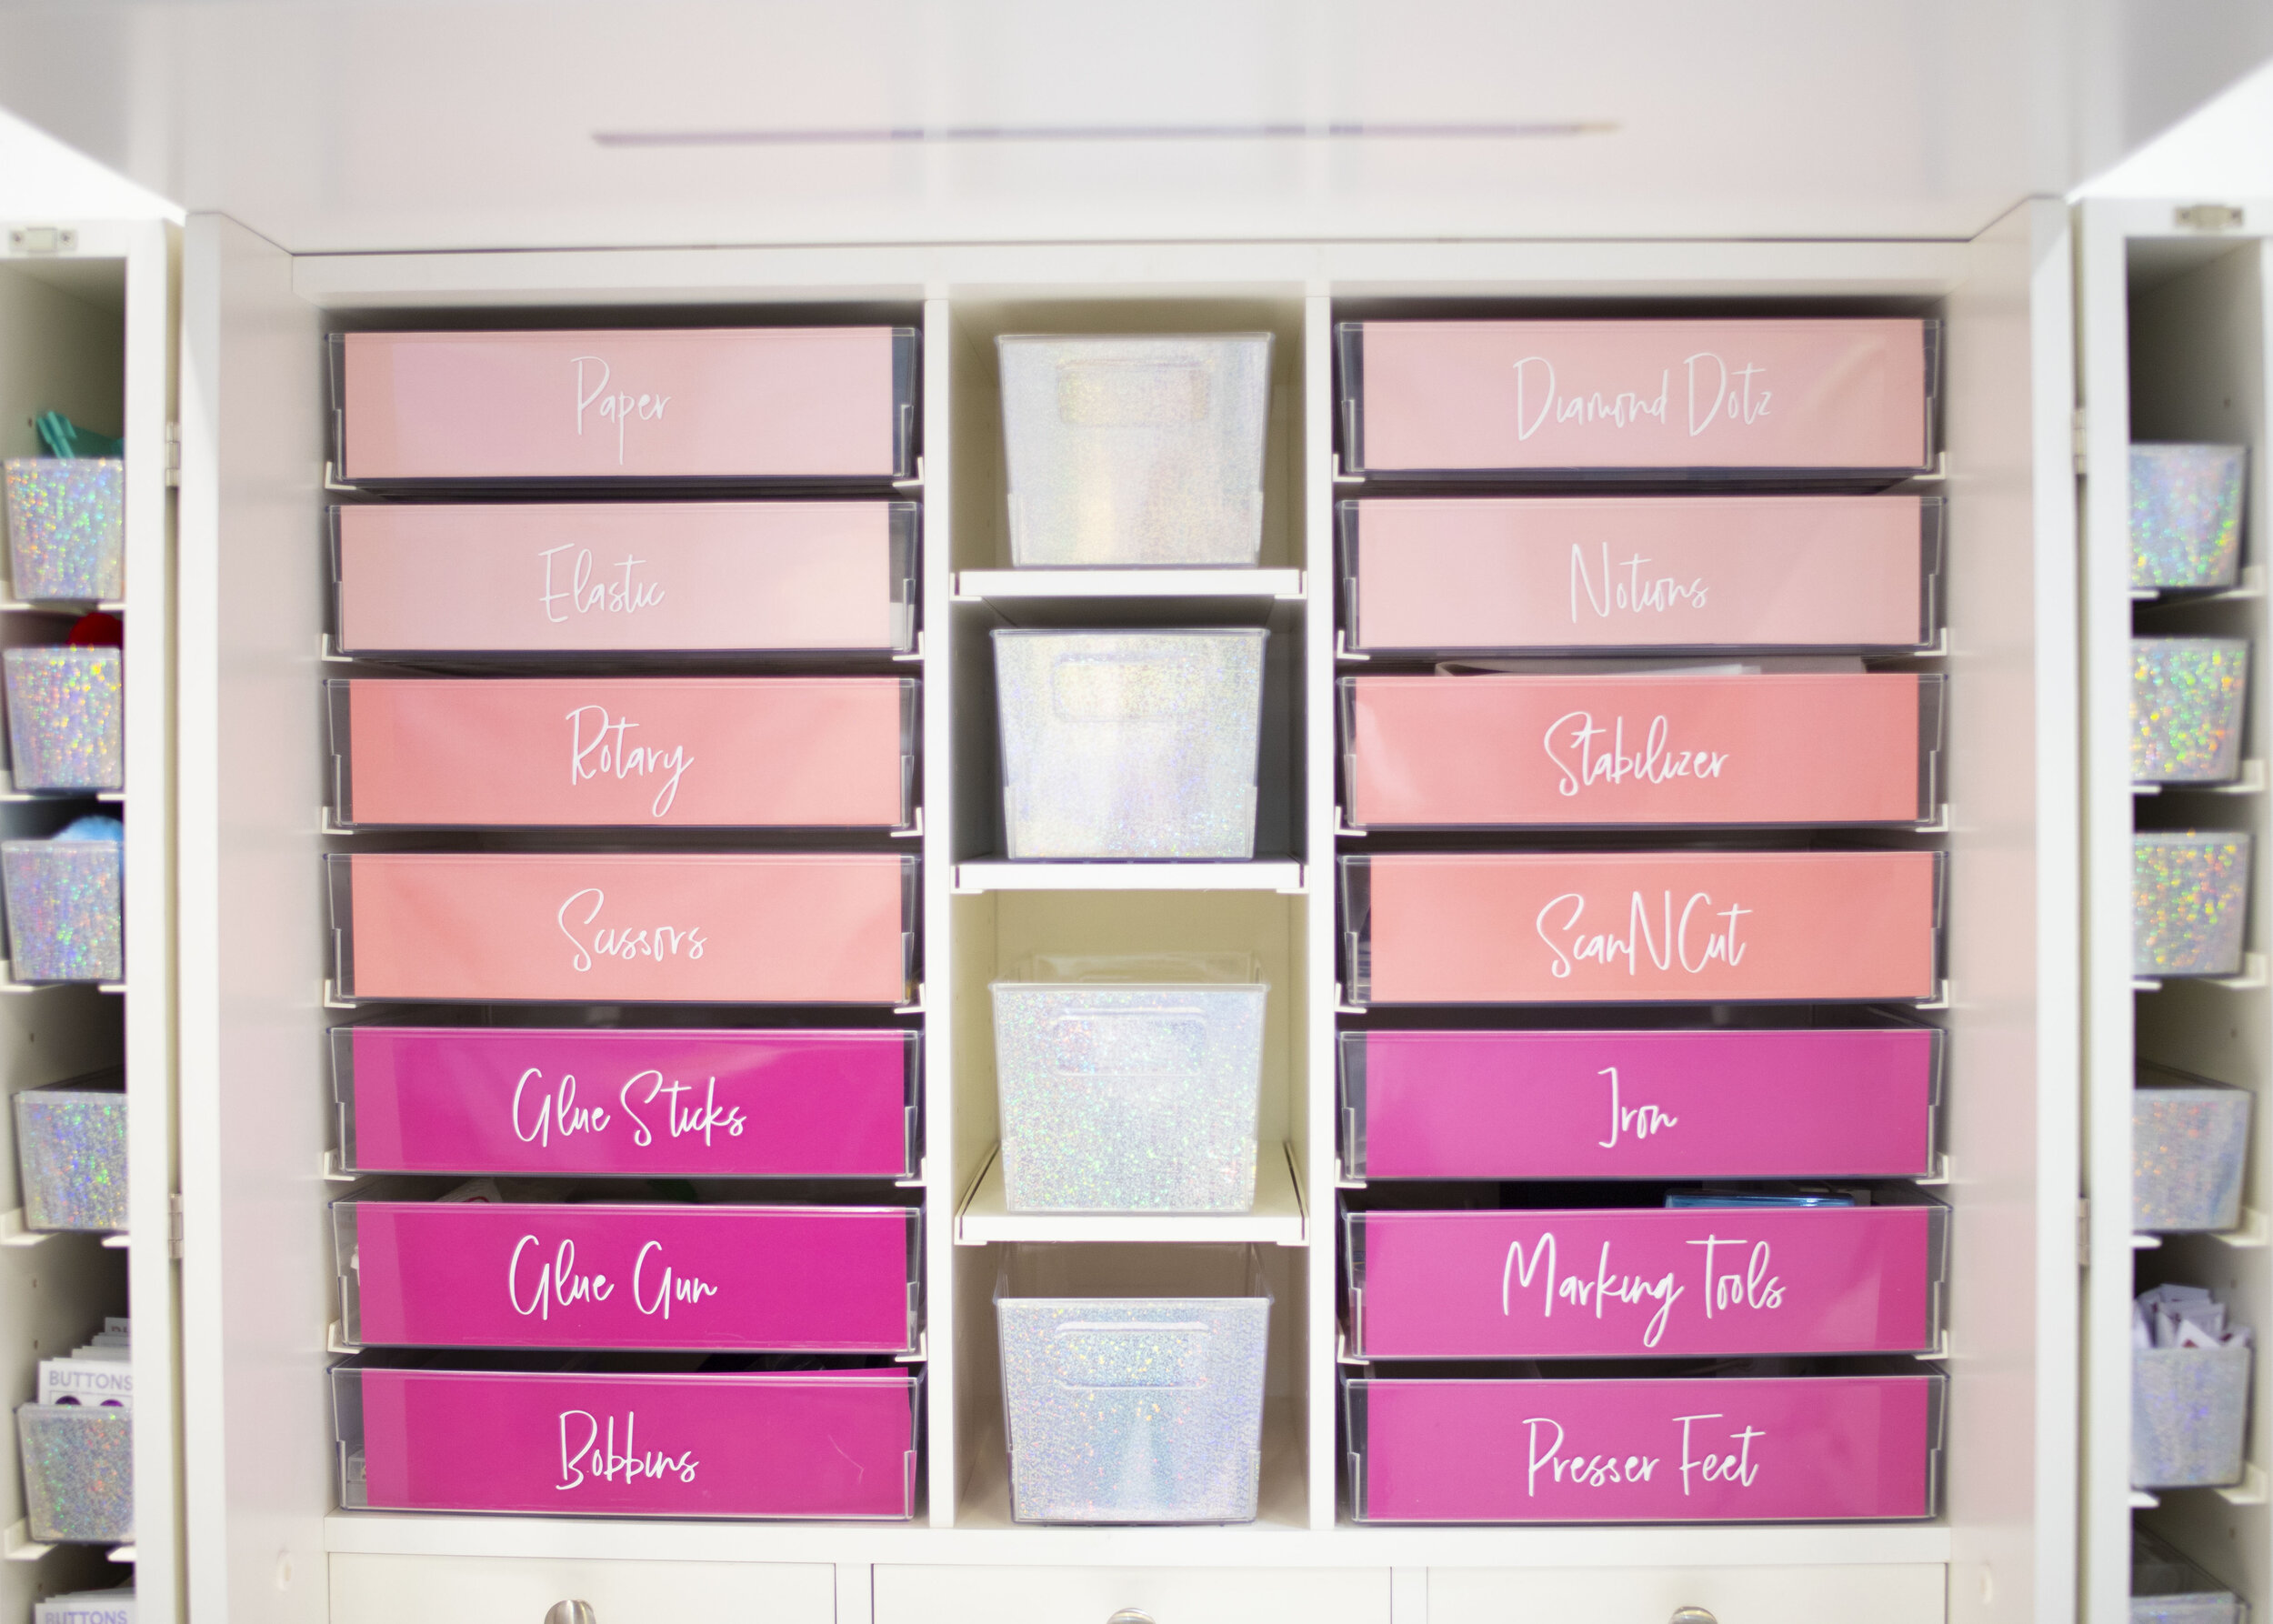
You guys know I’ve been trying so hard to get organized. My studio is filled to the brim with literally hundreds of supplies of all different kinds, and I needed a system that easily told me what and where everything was. I got some clear acrylic containers to hold things like scissors, thread, and beads. Everything finally had it’s own space!!
Since the containers were clear, you could see everything in them. I had the idea to put colored cardstock right behind the plastic to both cover the chaos behind it AND add that burst of color to my organization space. Guys...beauty and function!!! Absolutely OBSESSED. When I was finished, the space looked like a Barbie Dreamhouse and now all of my disorganization stresses are gone. Or at least they will be once I memorize where each box is LOL.

INSTRUCTIONS
Font Instructions
Scan your font image with your Brother ScanNCut SDX85M
Transfer the scan to Brother CanvasWorkspace
Select File at the top left, and then Import From Your Cutting Machine and select the Scanned Image.
Click the layer on the right.
Select Image Tracing on the left side
Trace the areas by color
Your shape should be highlighted/outlined with a blue line
Click okay
Delete any unnecessary layers. You should be left with the image you need
Cut as you normally would.
***Note: I used Photoshop to create my labels. After I typed everything out, I saved it as a PNG file and then opened it in Brother Canvas. If you don’t have Photoshop, you can use Word to create your labels. Just type out your labels and then print. You can then scan that into your ScanNCut and follow the instructions above.
Label Instructions
Measure the length and width of the inside front of the clear container. This will be the size of your cardstock
Cut as many cardstock pieces as you need. I used my ScanNCut for a perfect cut every time.
Attach the craft vinyl label to the outside of the clear box
Place the cardstock in the front of the box behind the label
Ta daaah!!!!

